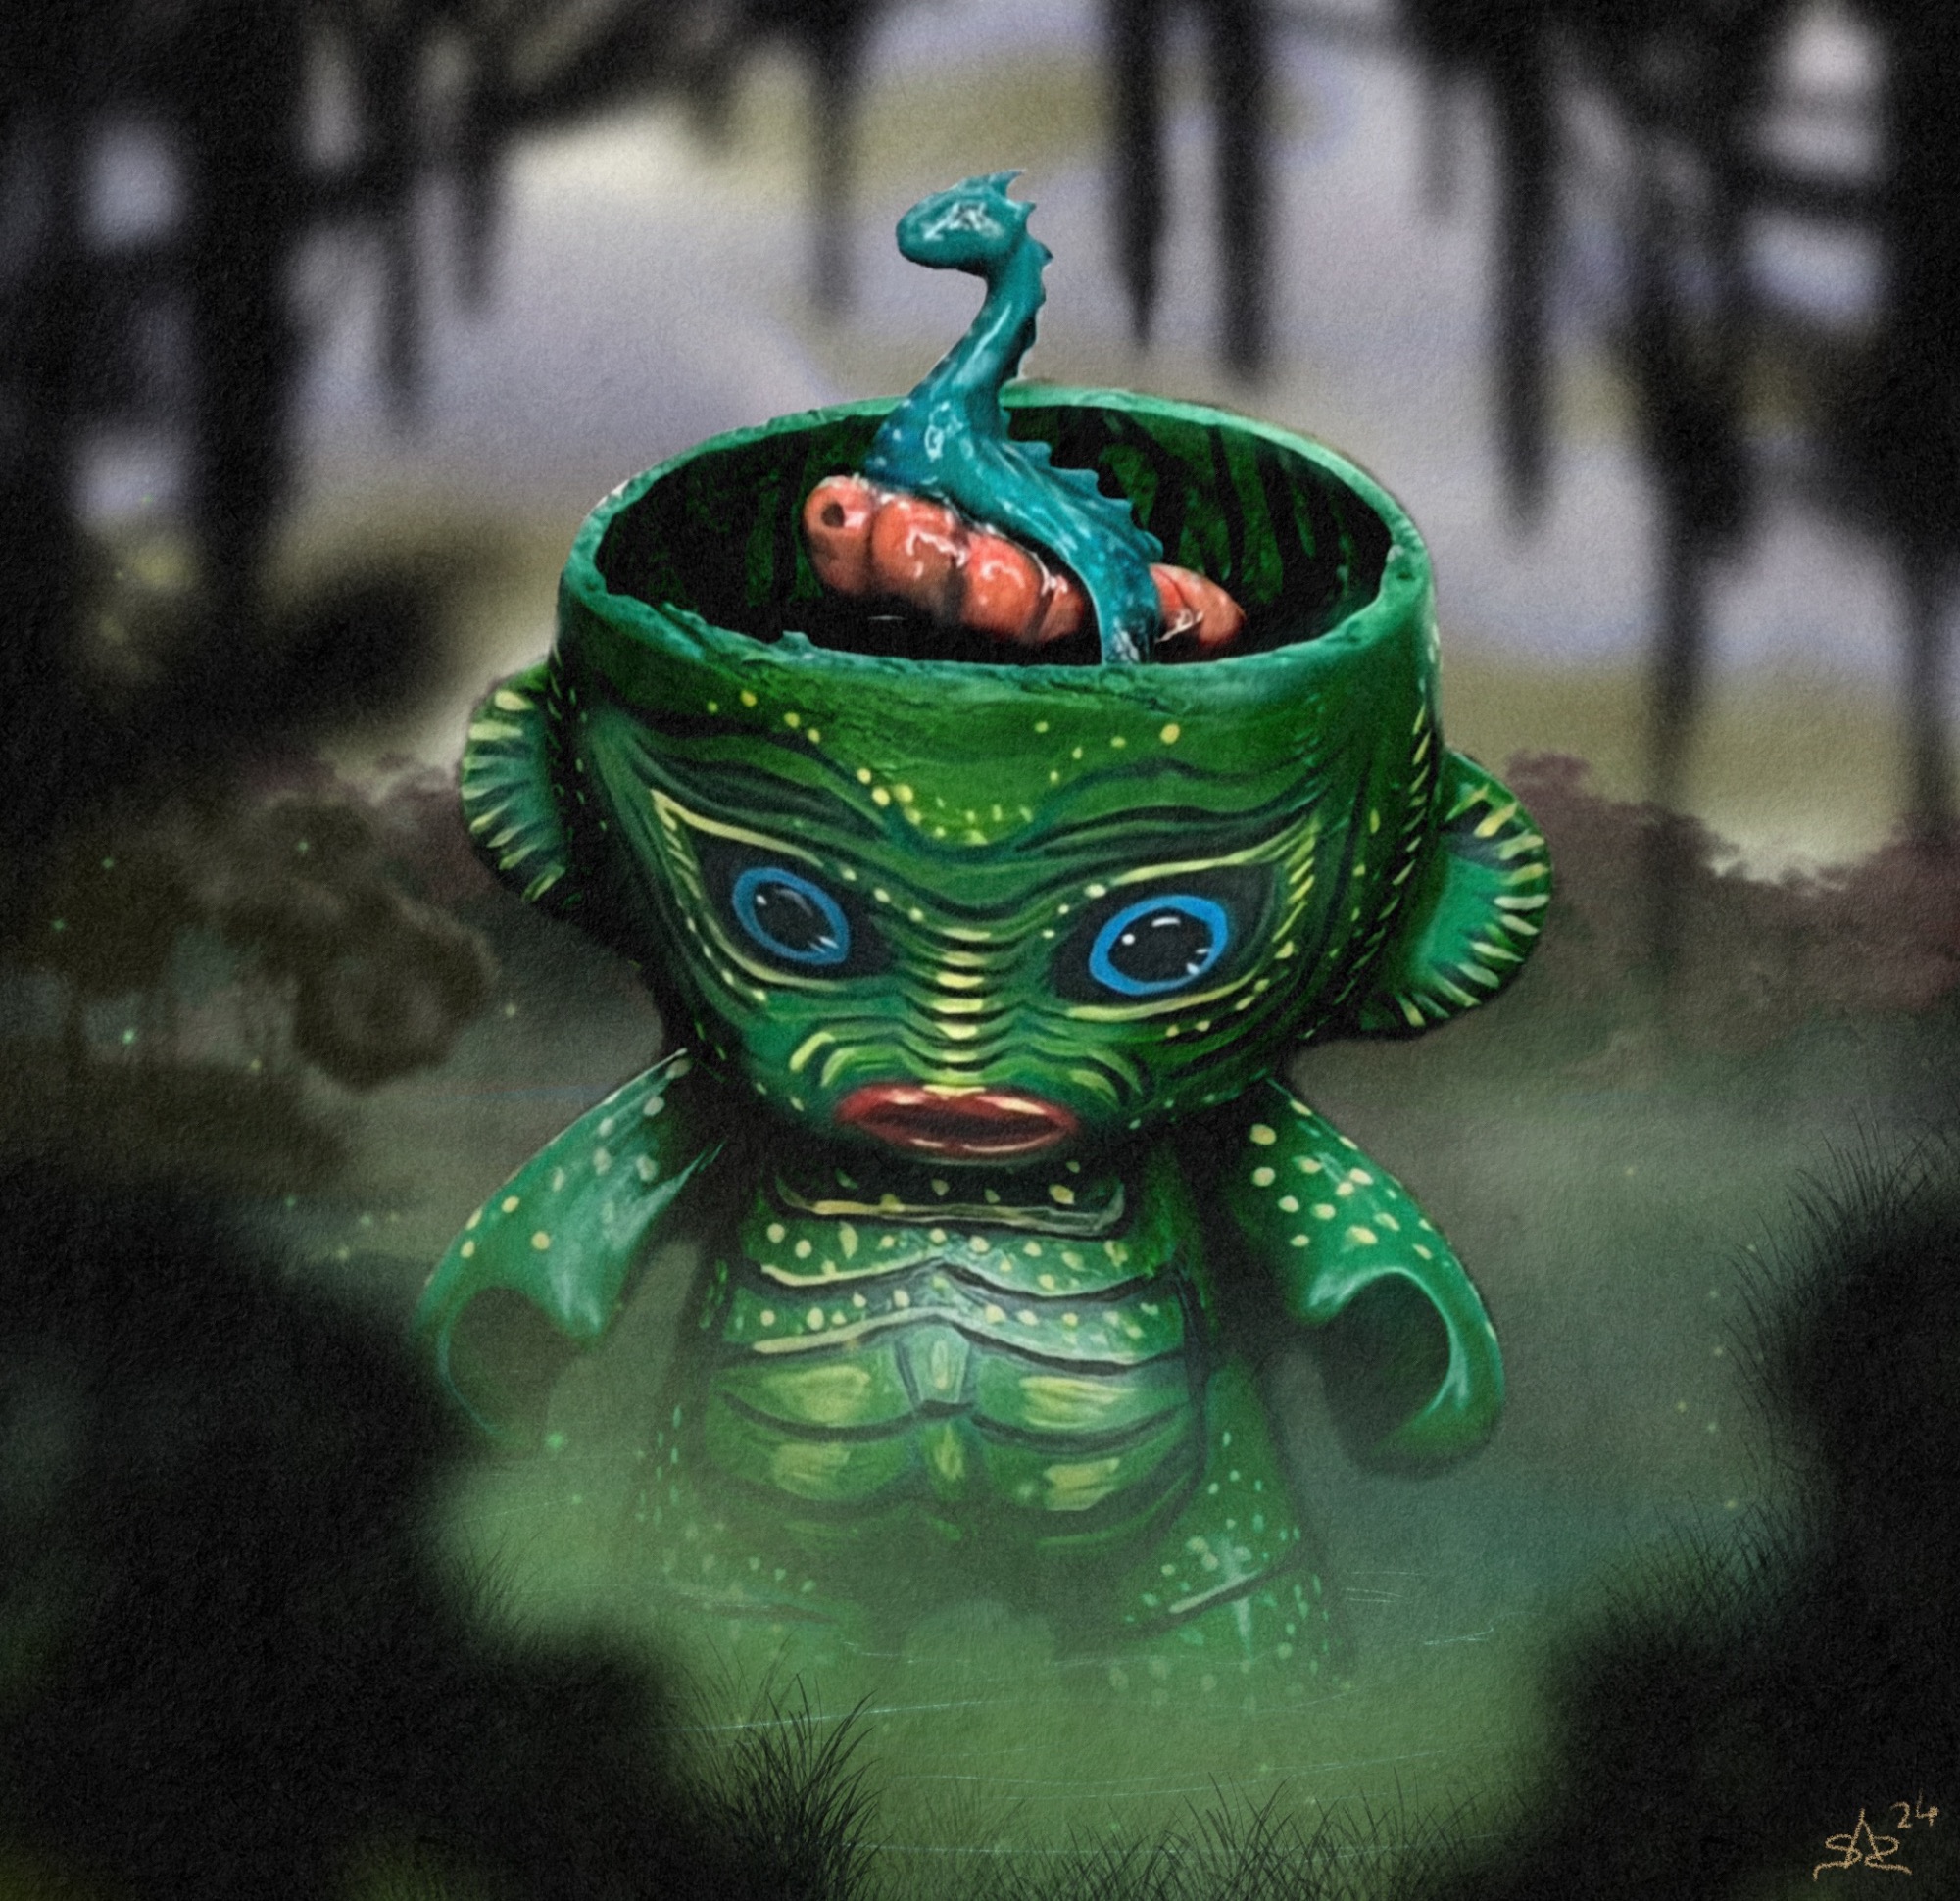
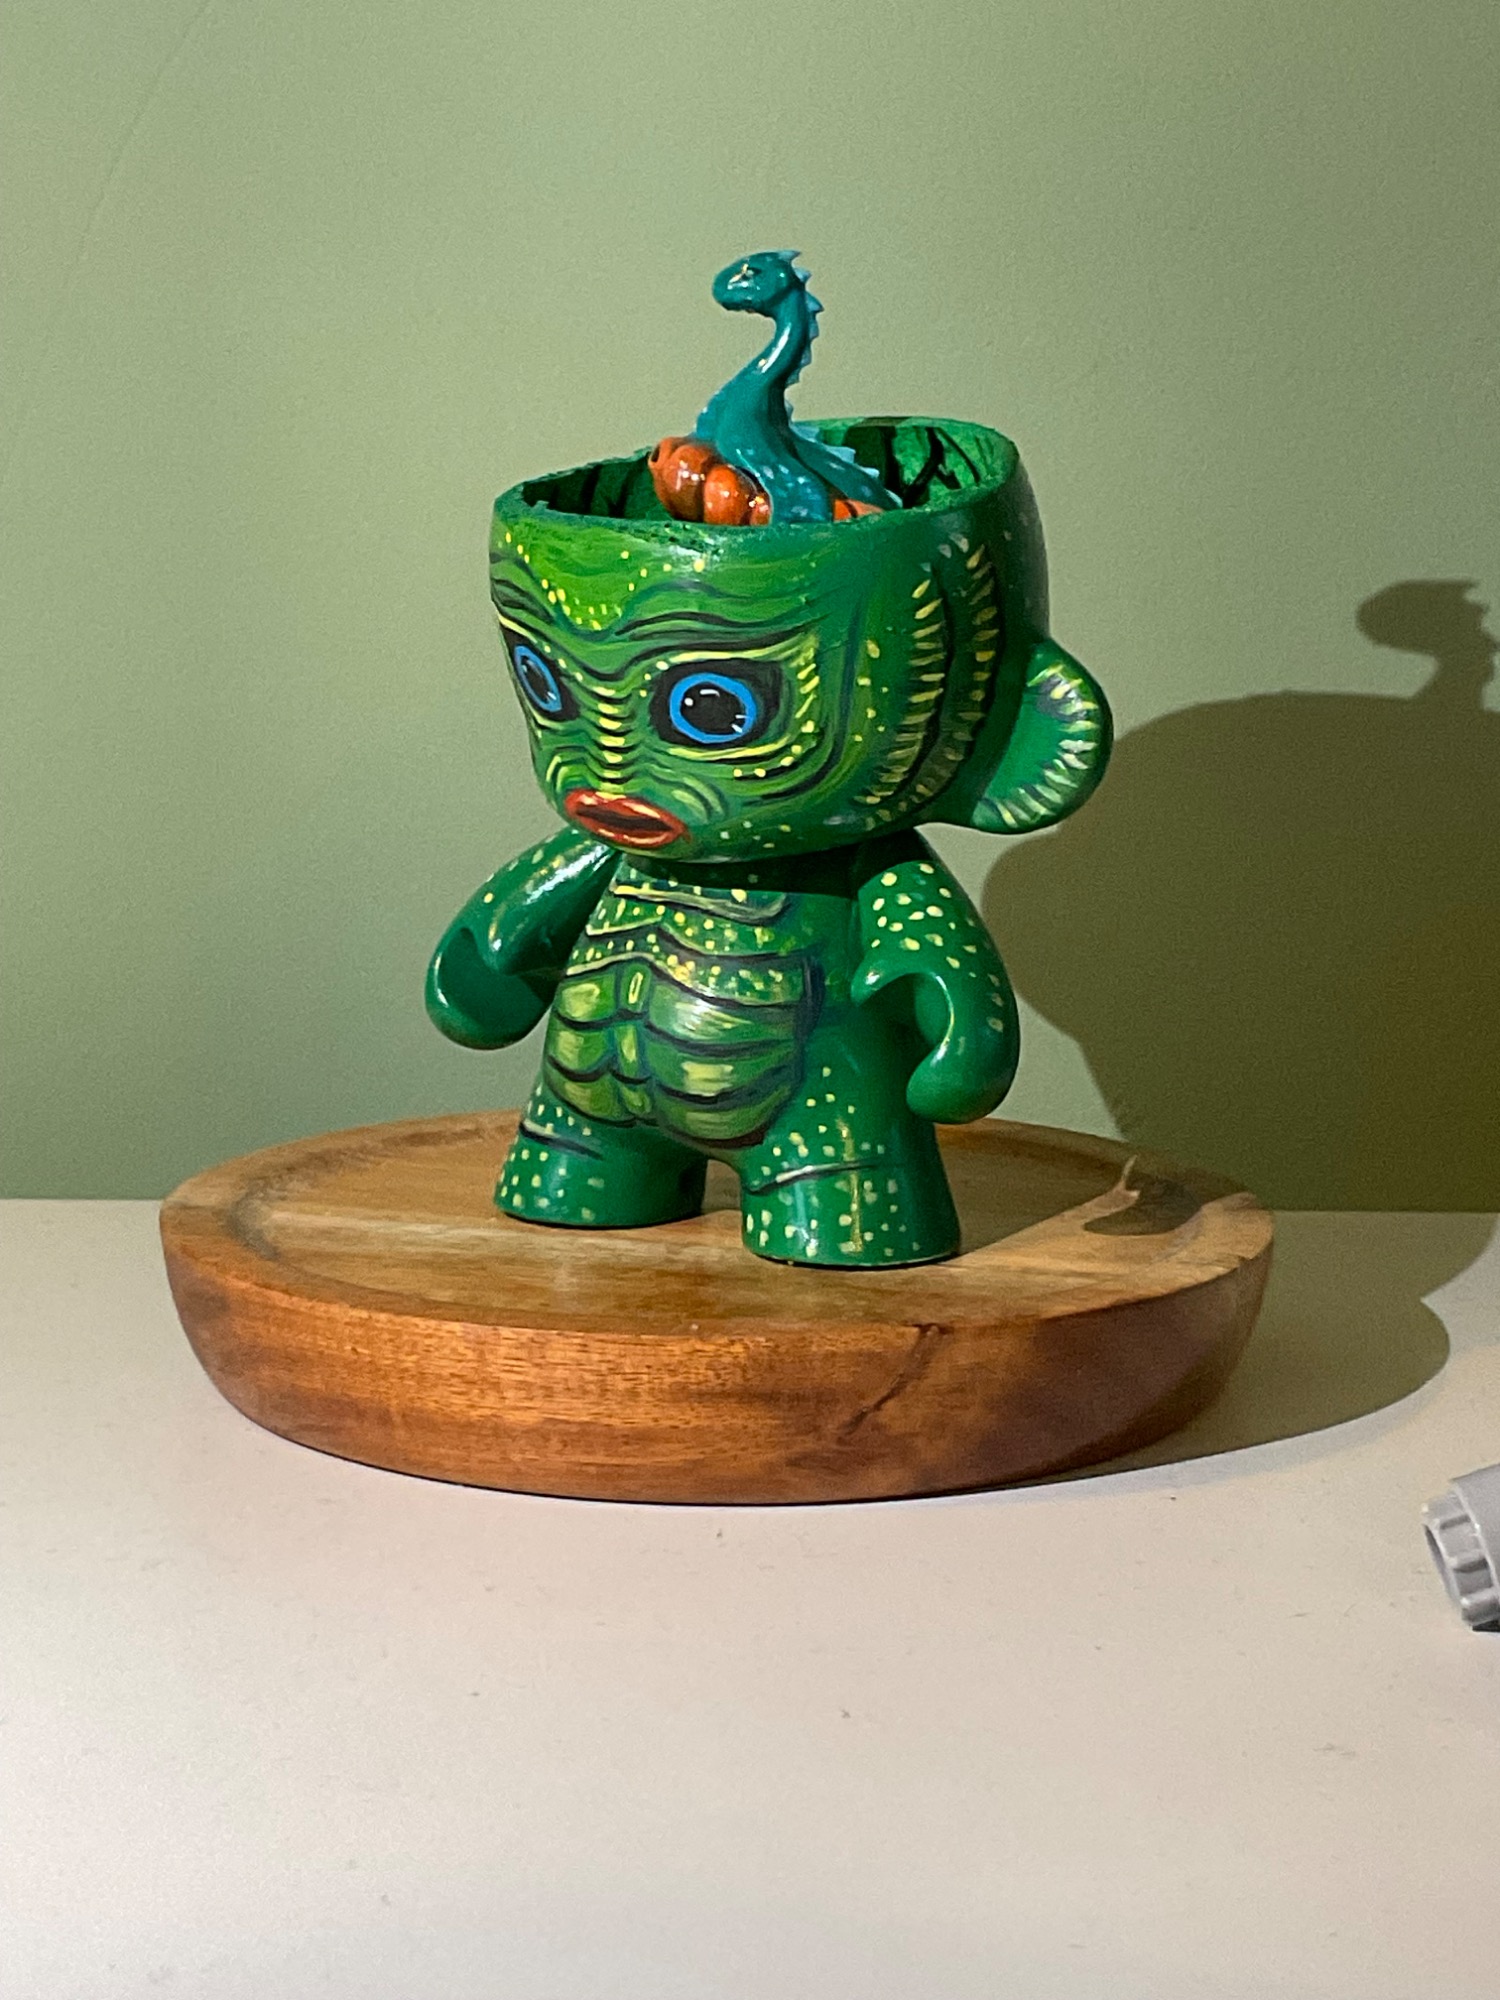
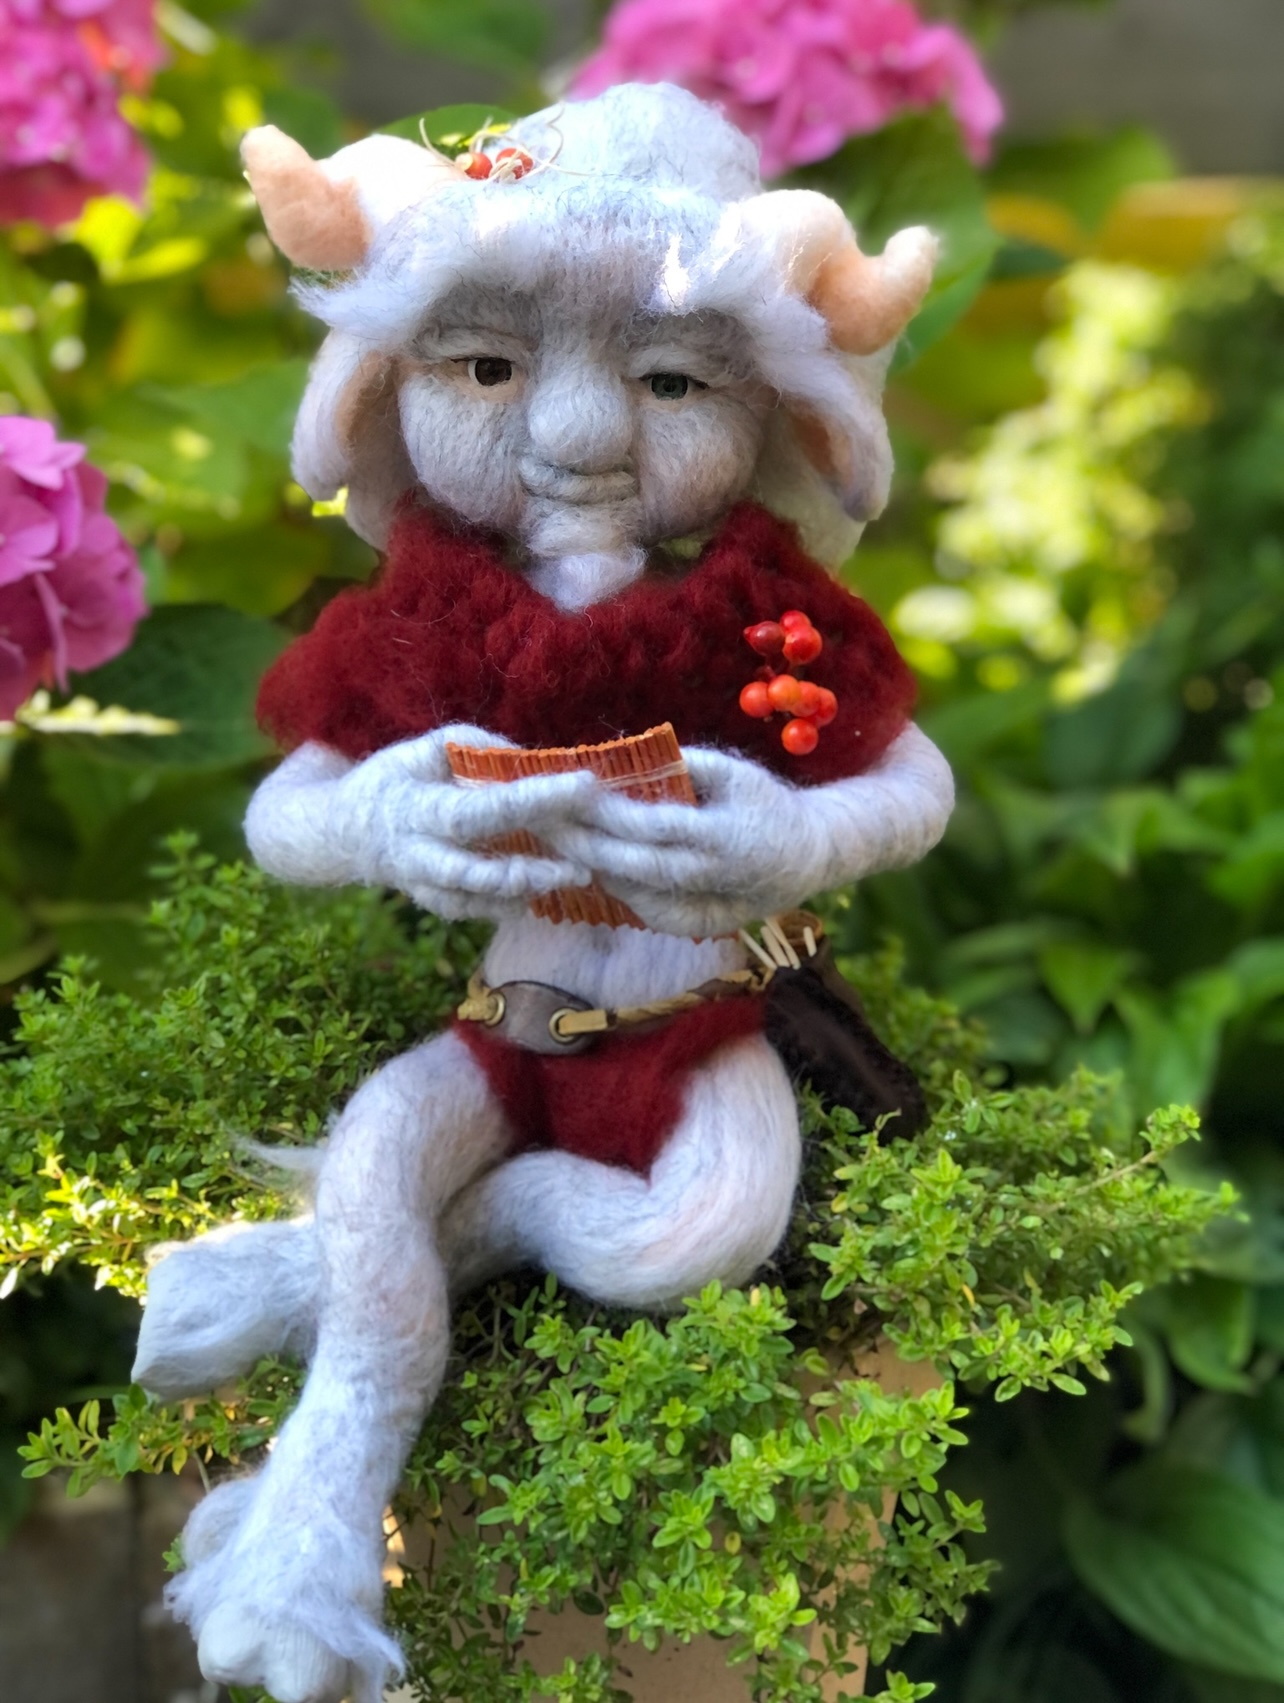
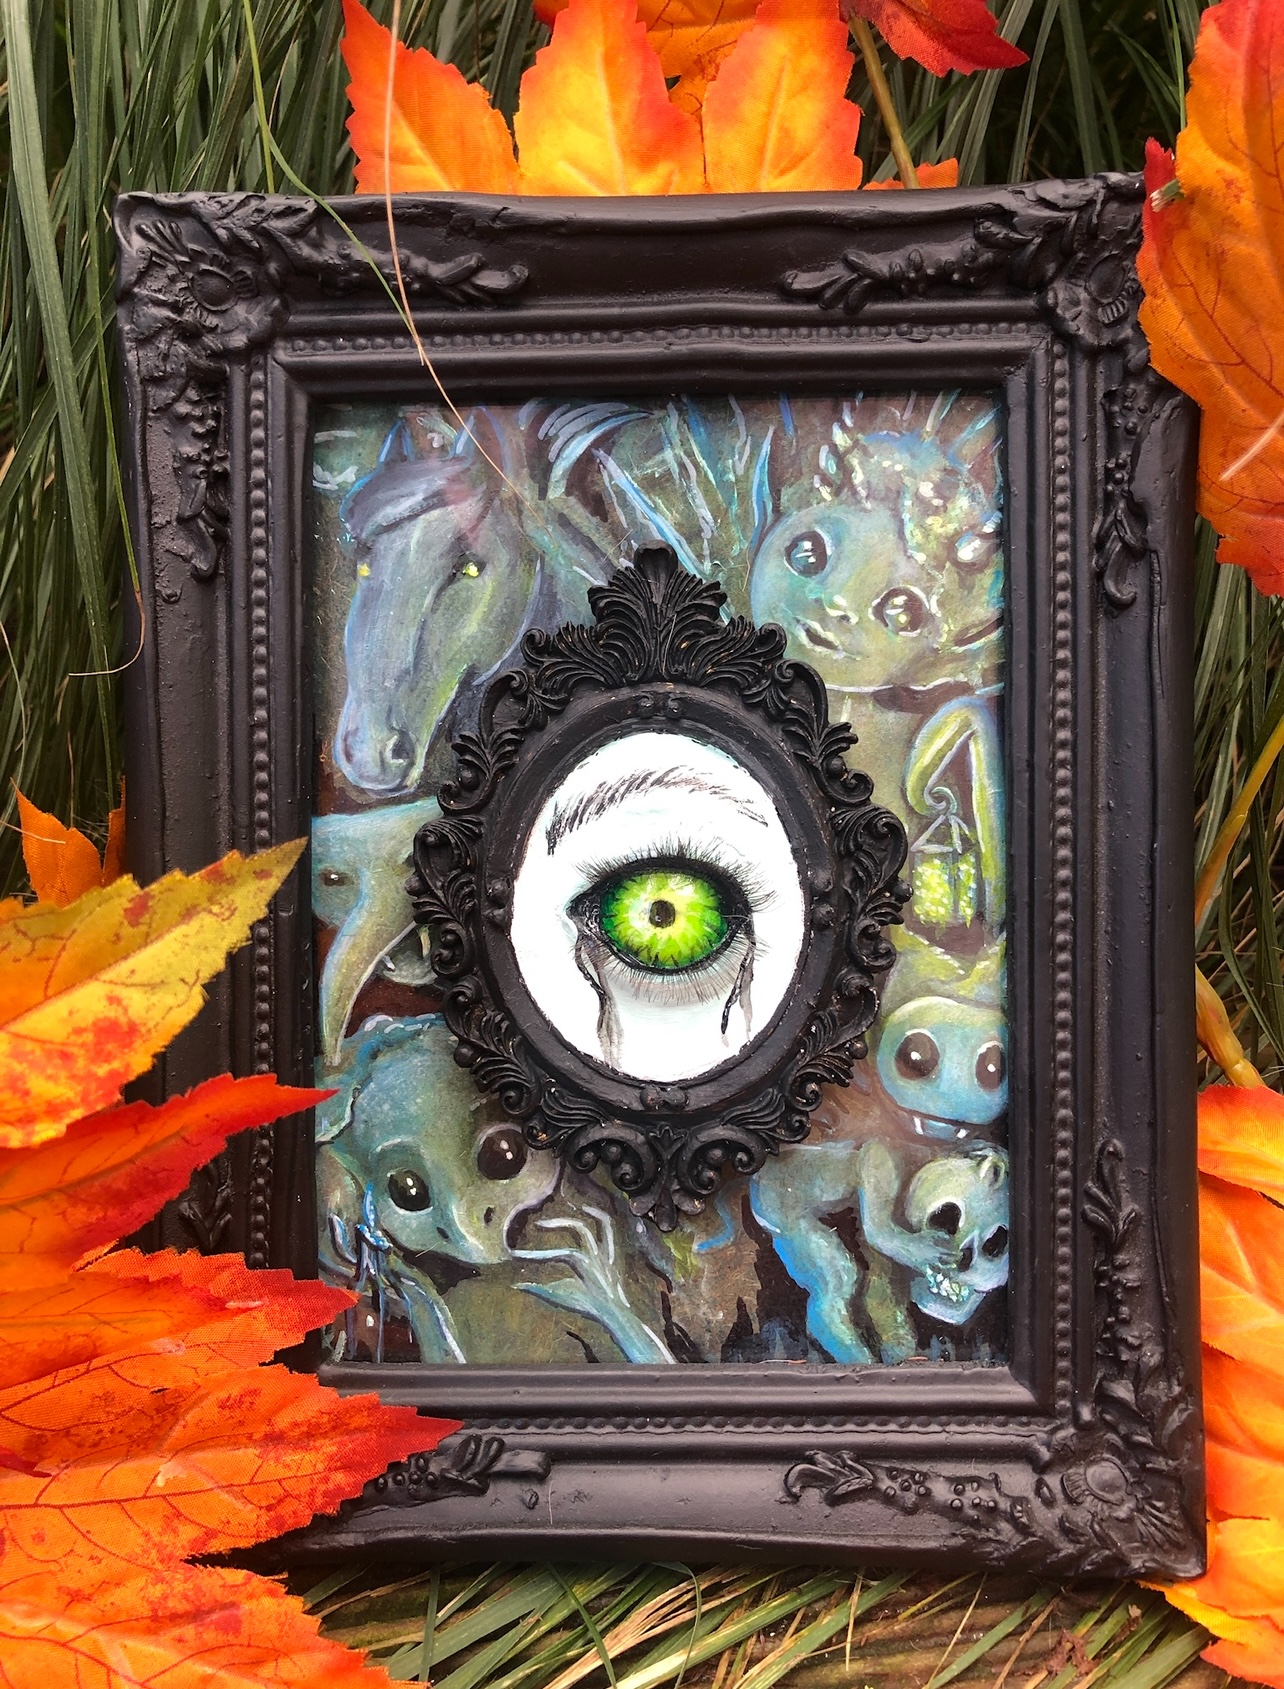
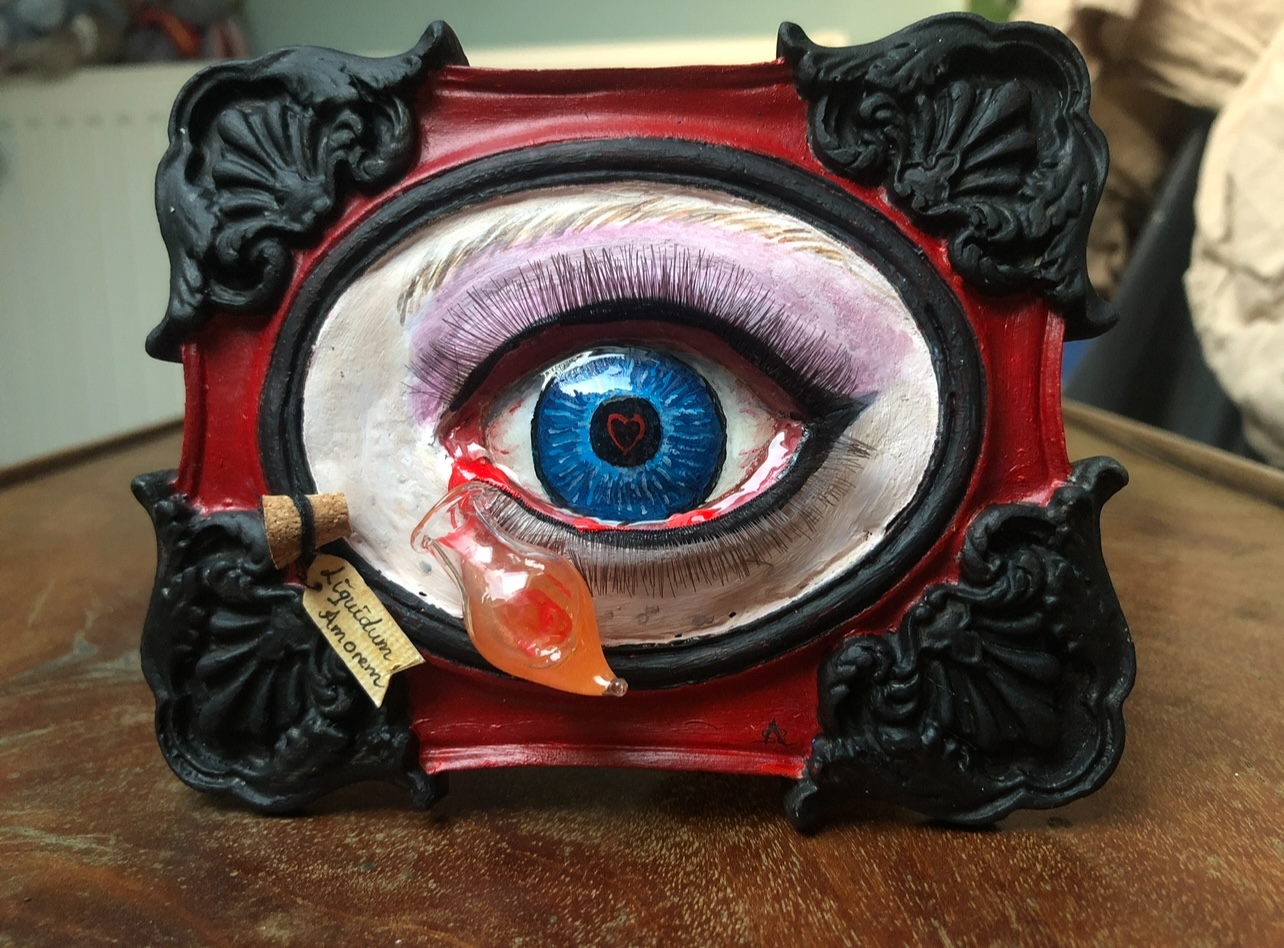
Sculpts & 3D Objects
Alongside drawing and painting, I’ve spent the past few years exploring the world of 3D objects. This includes one-of-a-kind dolls, 3D prints based on my illustrations, and handmade jewellery. Just like my work on paper, this process is full of trial and error — stumbling, starting over, and occasionally surprising myself when something turns out better than expected.
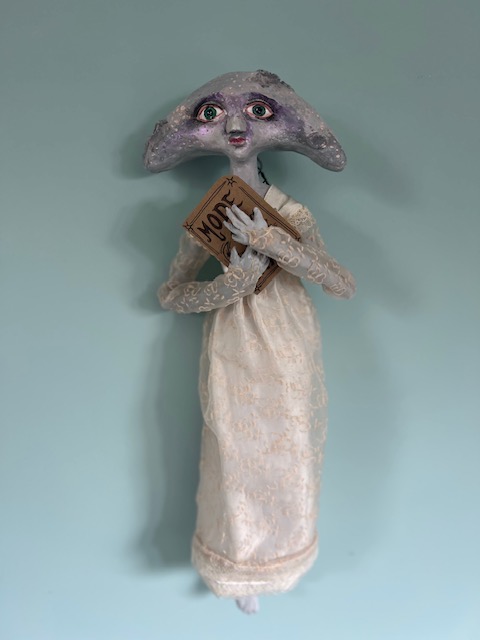
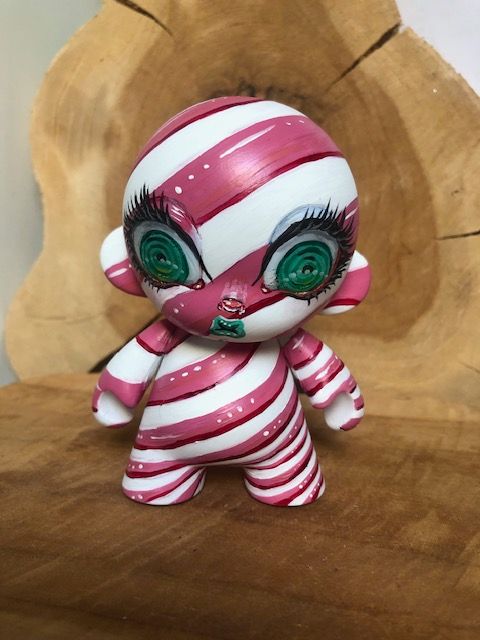
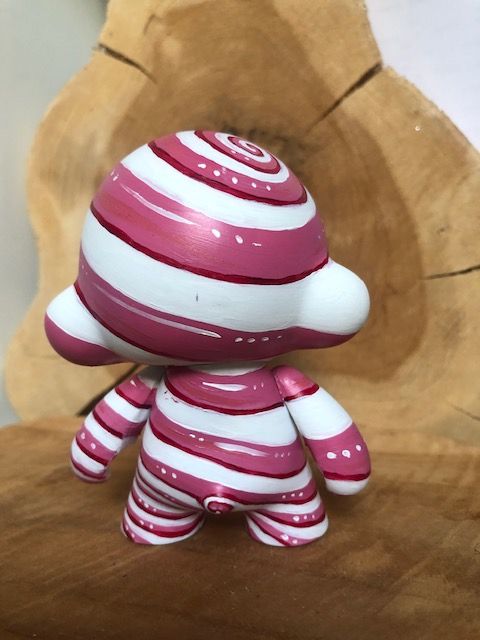
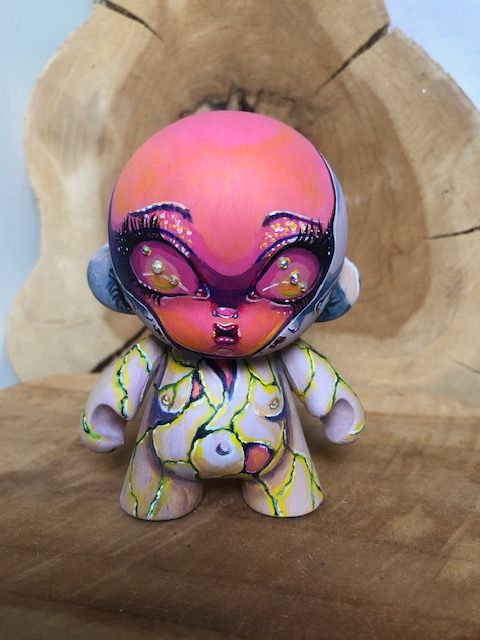
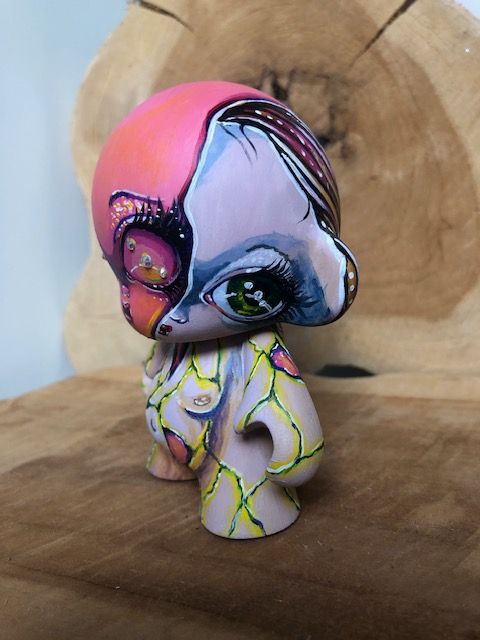
I don’t restrict myself to a single material or technique. My 3D objects range from sculpted clay figures and handpainted figures, to pieces brought to life with a 3D printer, as well as needle-felted creations. The result is a diverse collection of tactile, handcrafted works — varied in form, yet united by a recognisable style and a shared sense of fantasy.

About my 3D prints
In 2022, I discovered Nomad Sculpt, a 3D design program that allowed me to easily create 3D sculpts on my iPad. It all started with mushrooms, which I designed for the Funguary Art Challenge on Instagram. I created the mushrooms in Nomad Sculpt and then incorporated them as illustrations in Procreate. However, I became curious about how they would look as 3D prints.
The process of 3D printing
At my workplace at the time, they kindly printed a few of my mushrooms for me. When I saw the results, I was convinced—I would eventually get my own 3D printer. By 2024, that moment had arrived.
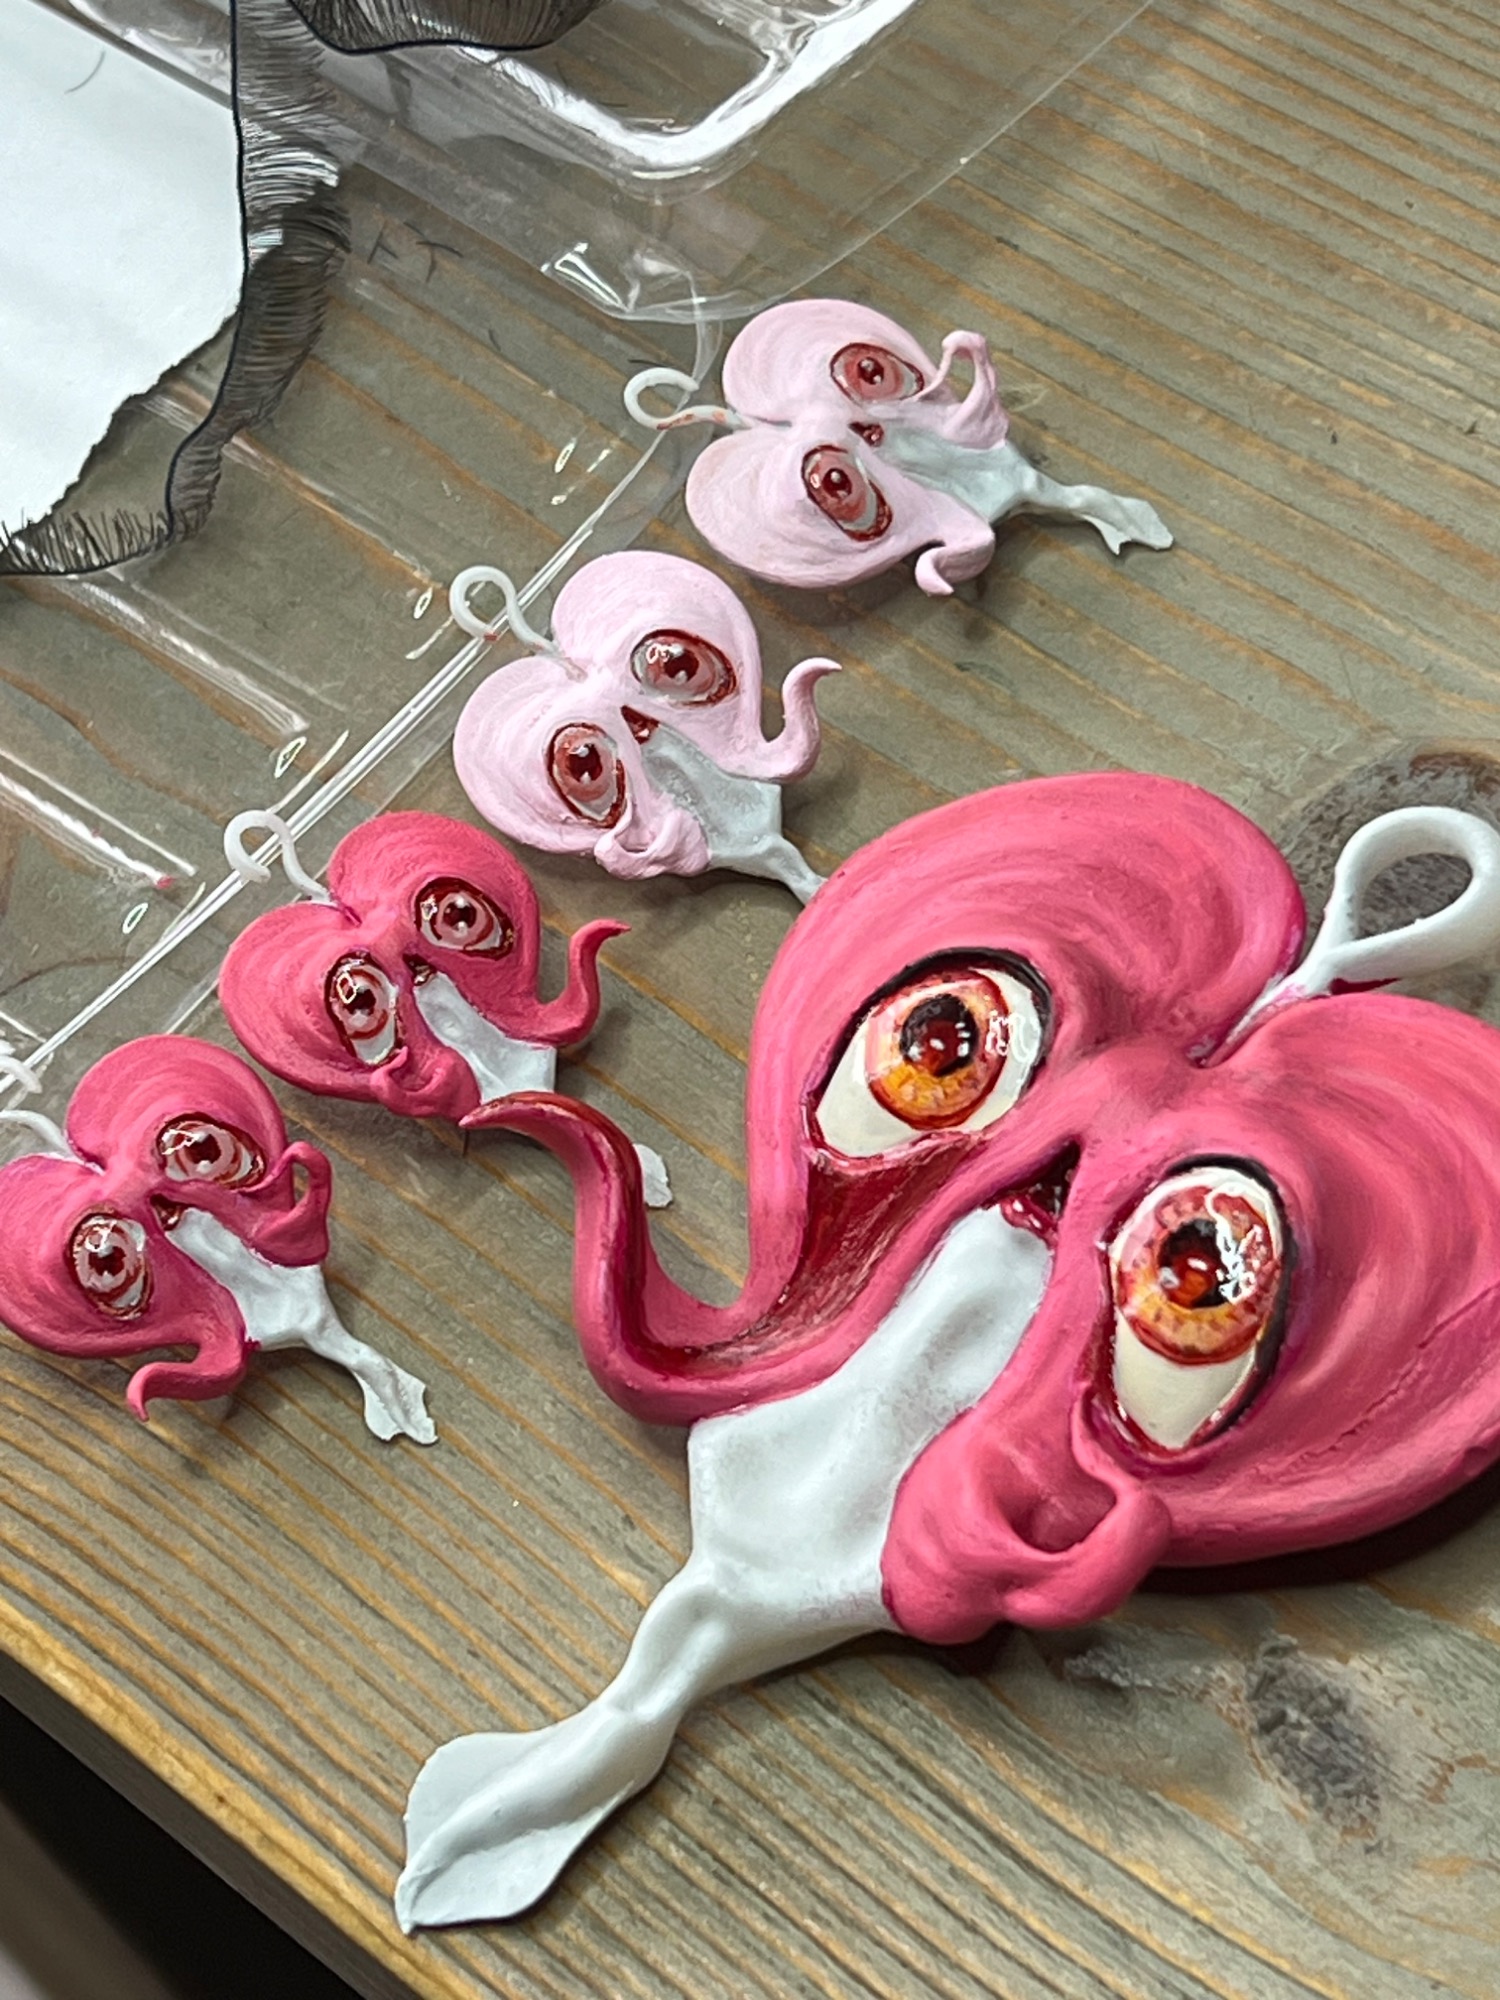
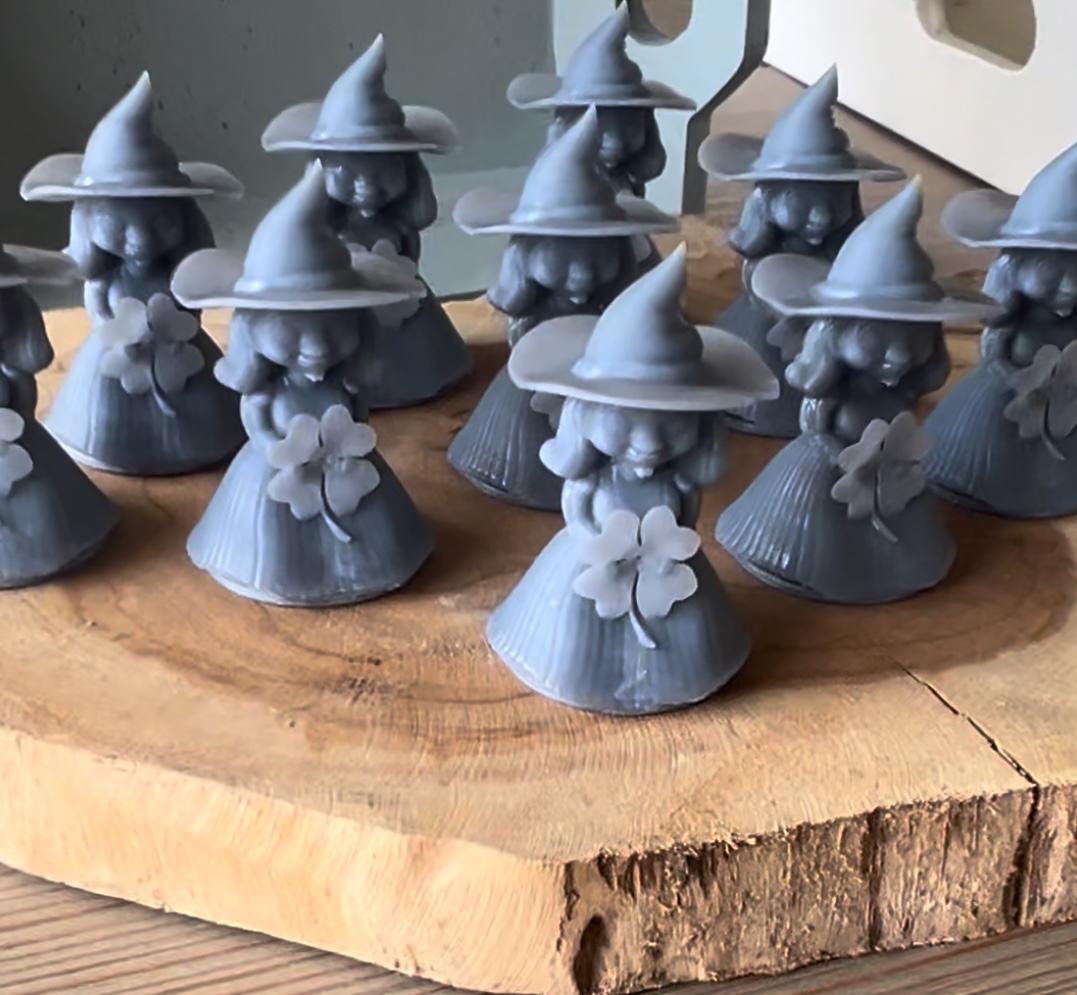
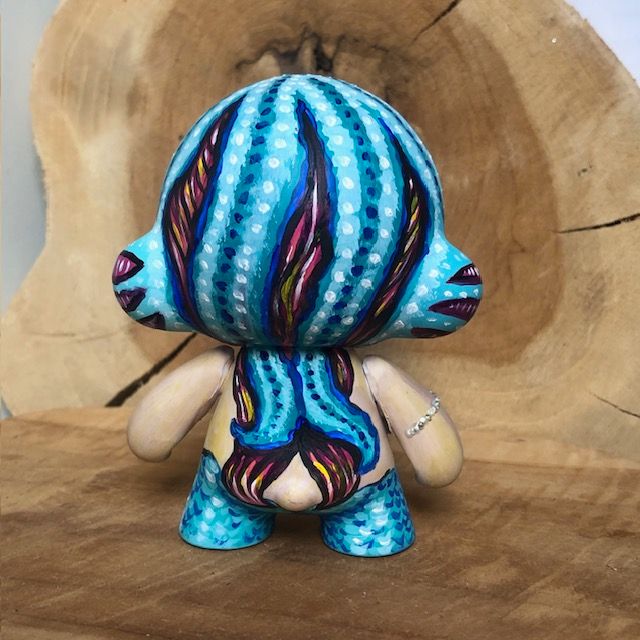
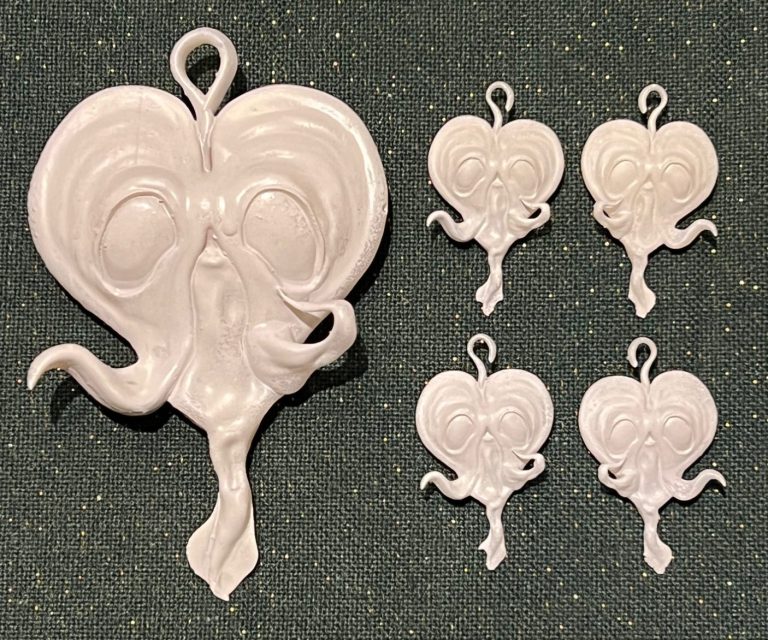
Since then, I’ve printed several sculpts made in Nomad Sculpt. Currently, I’m working on a series of jewellery pieces, each of which is hand-painted.
Here’s a brief explanation of the different steps involved in creating a 3D print.
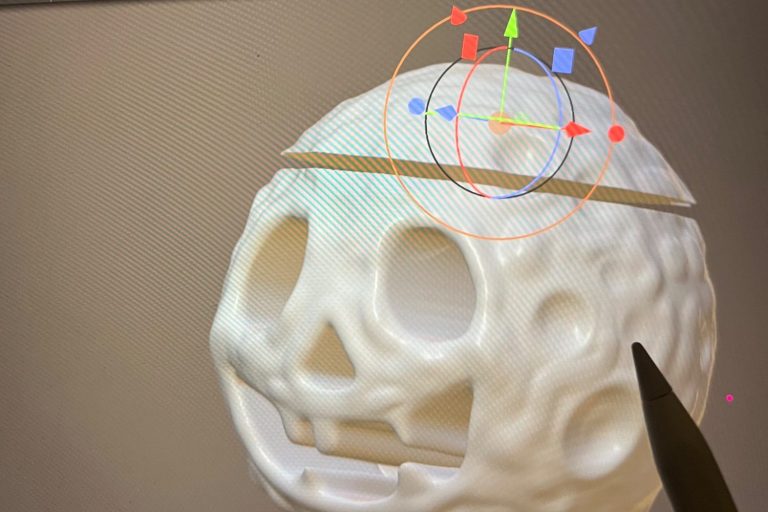
Creating a 3D Design
Within Nomad Sculpt, I design the model. Once it’s exactly how I want it, I save the file and send it to my slicing program.
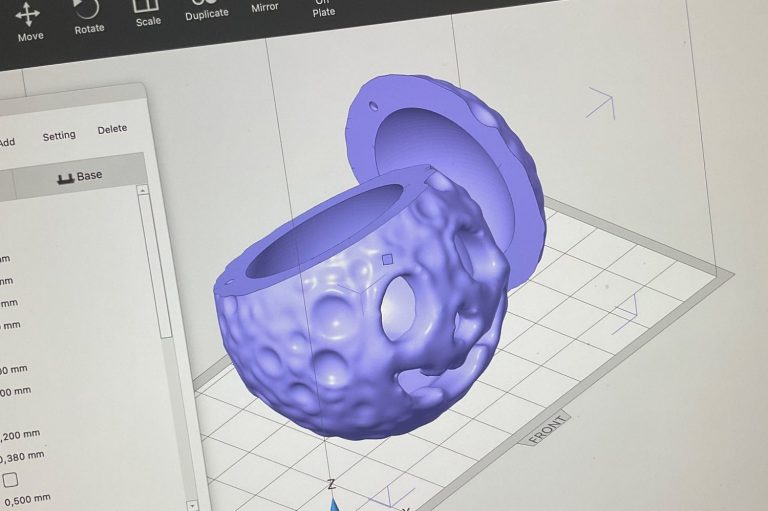
Slicing and prepping
Once imported into the slicing program, I prepare it for printing. Here, I determine the size of the object, add any necessary supports, decide whether it will be hollow inside, and so on.
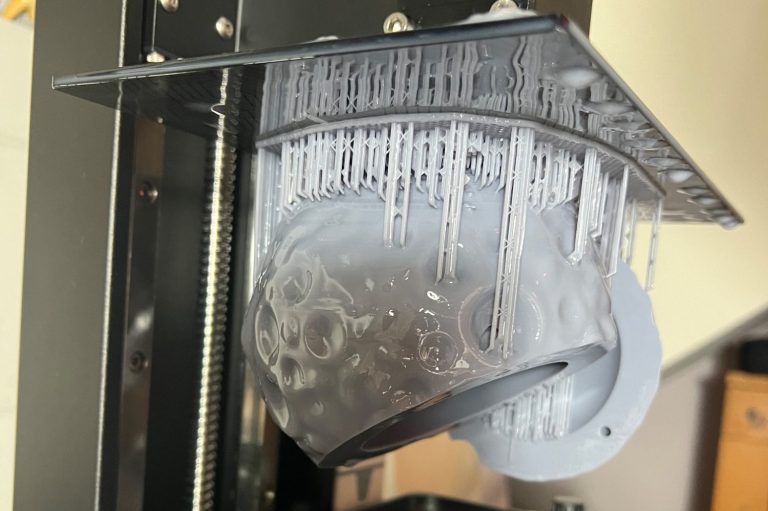
3D printing process
When the printing process begins, it gets exciting. Will it look just as good in real life as it does in the app?
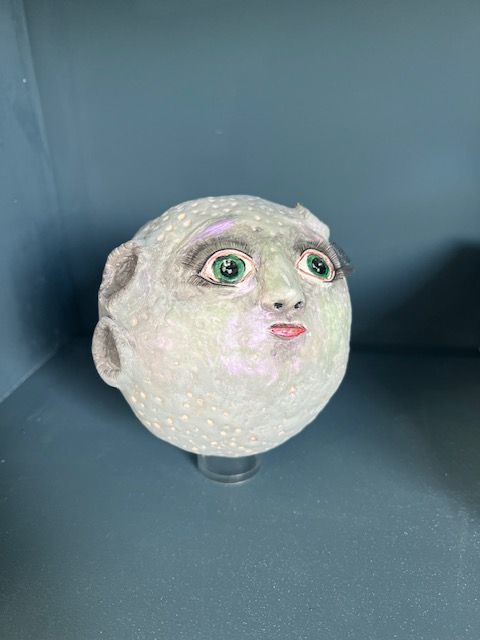
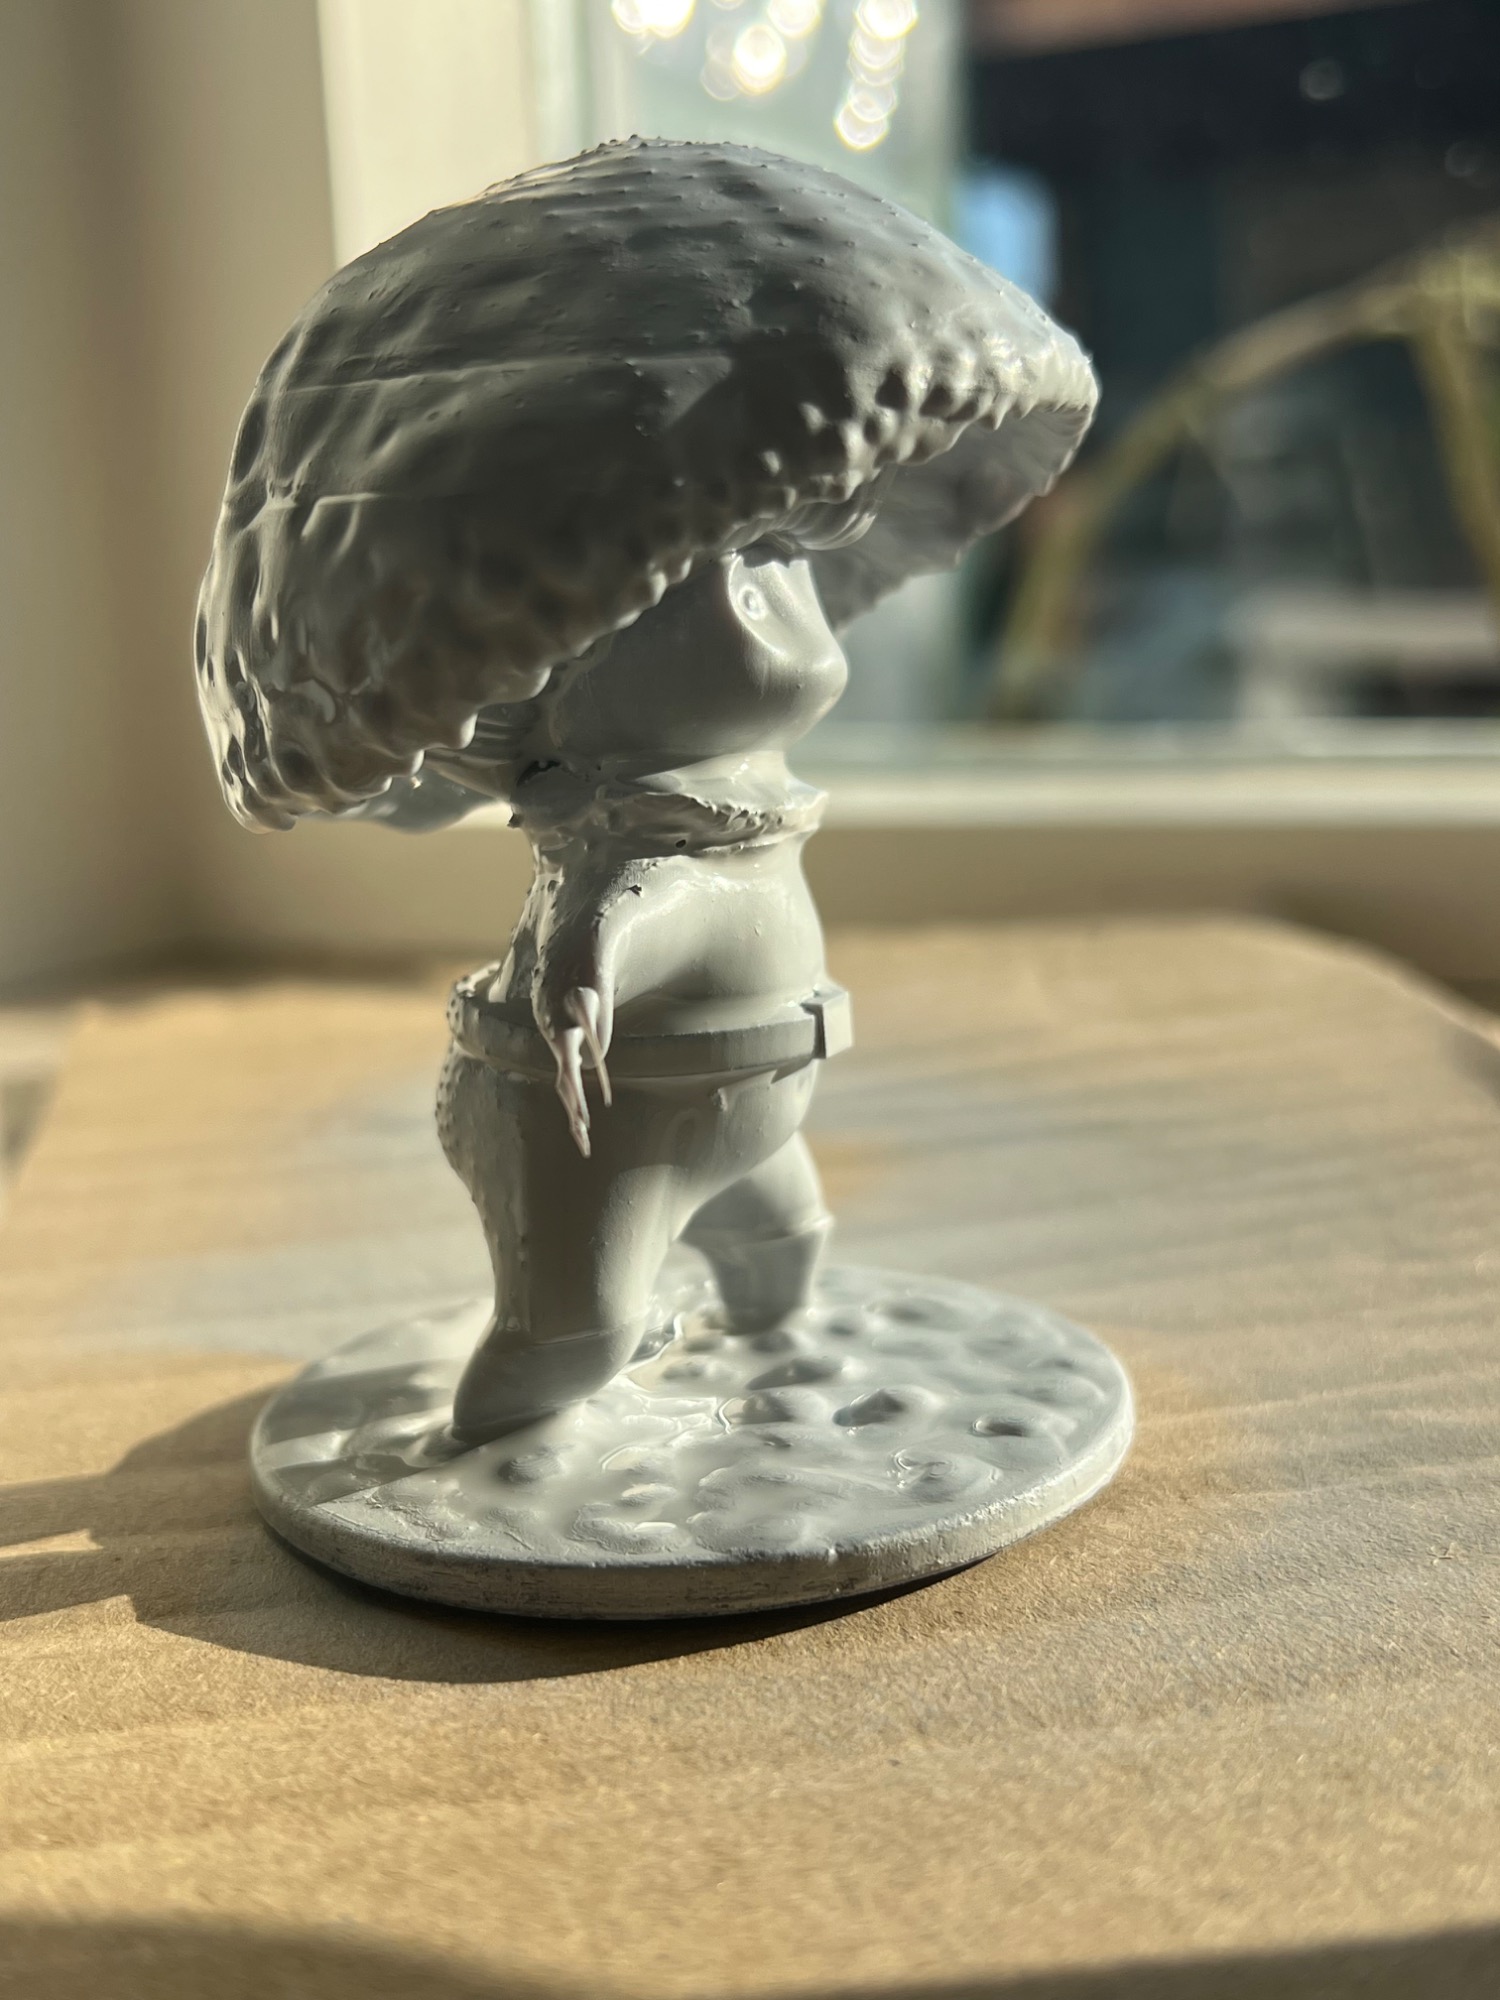
Finished print, ready for painting
Once the print is finished, the supports are removed, the print is cleaned, and it is cured under a UV lamp. After this, it is ready for further processing, such as painting.
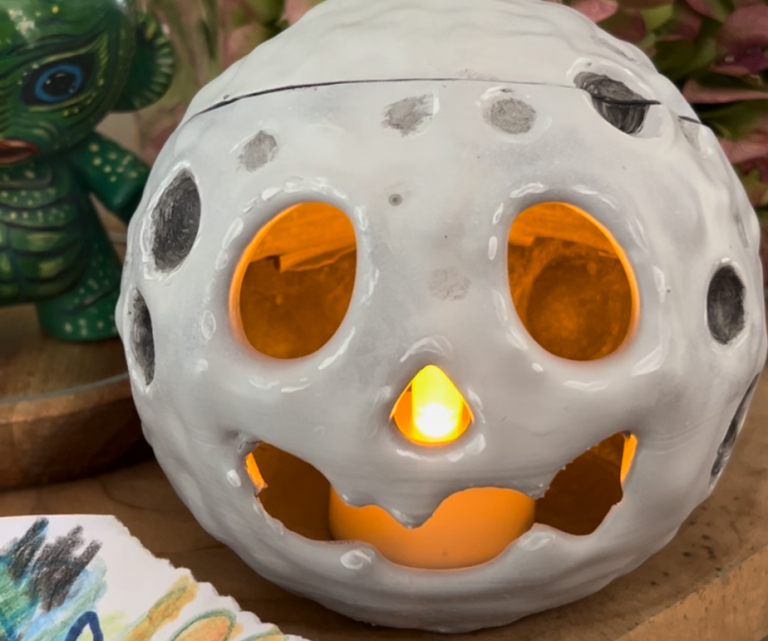
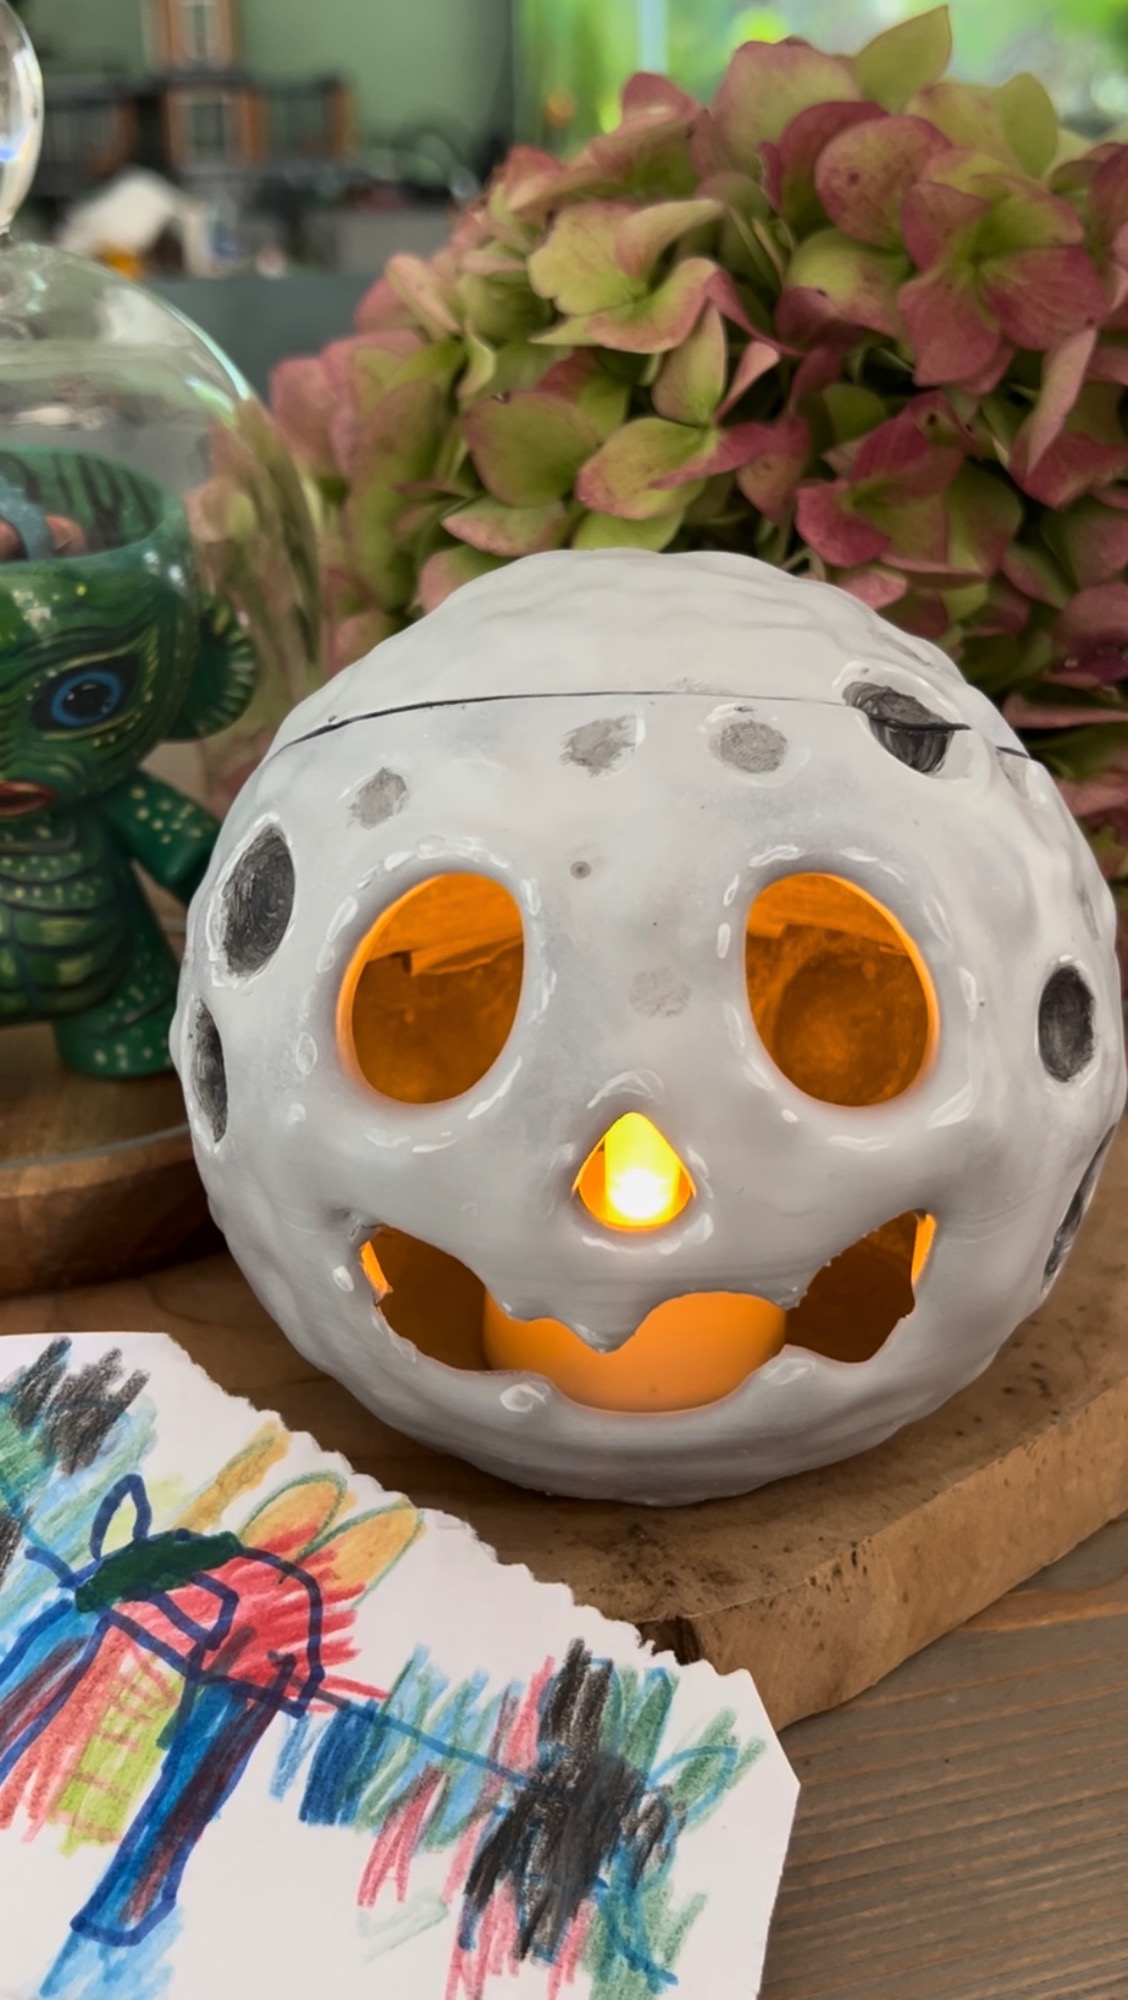
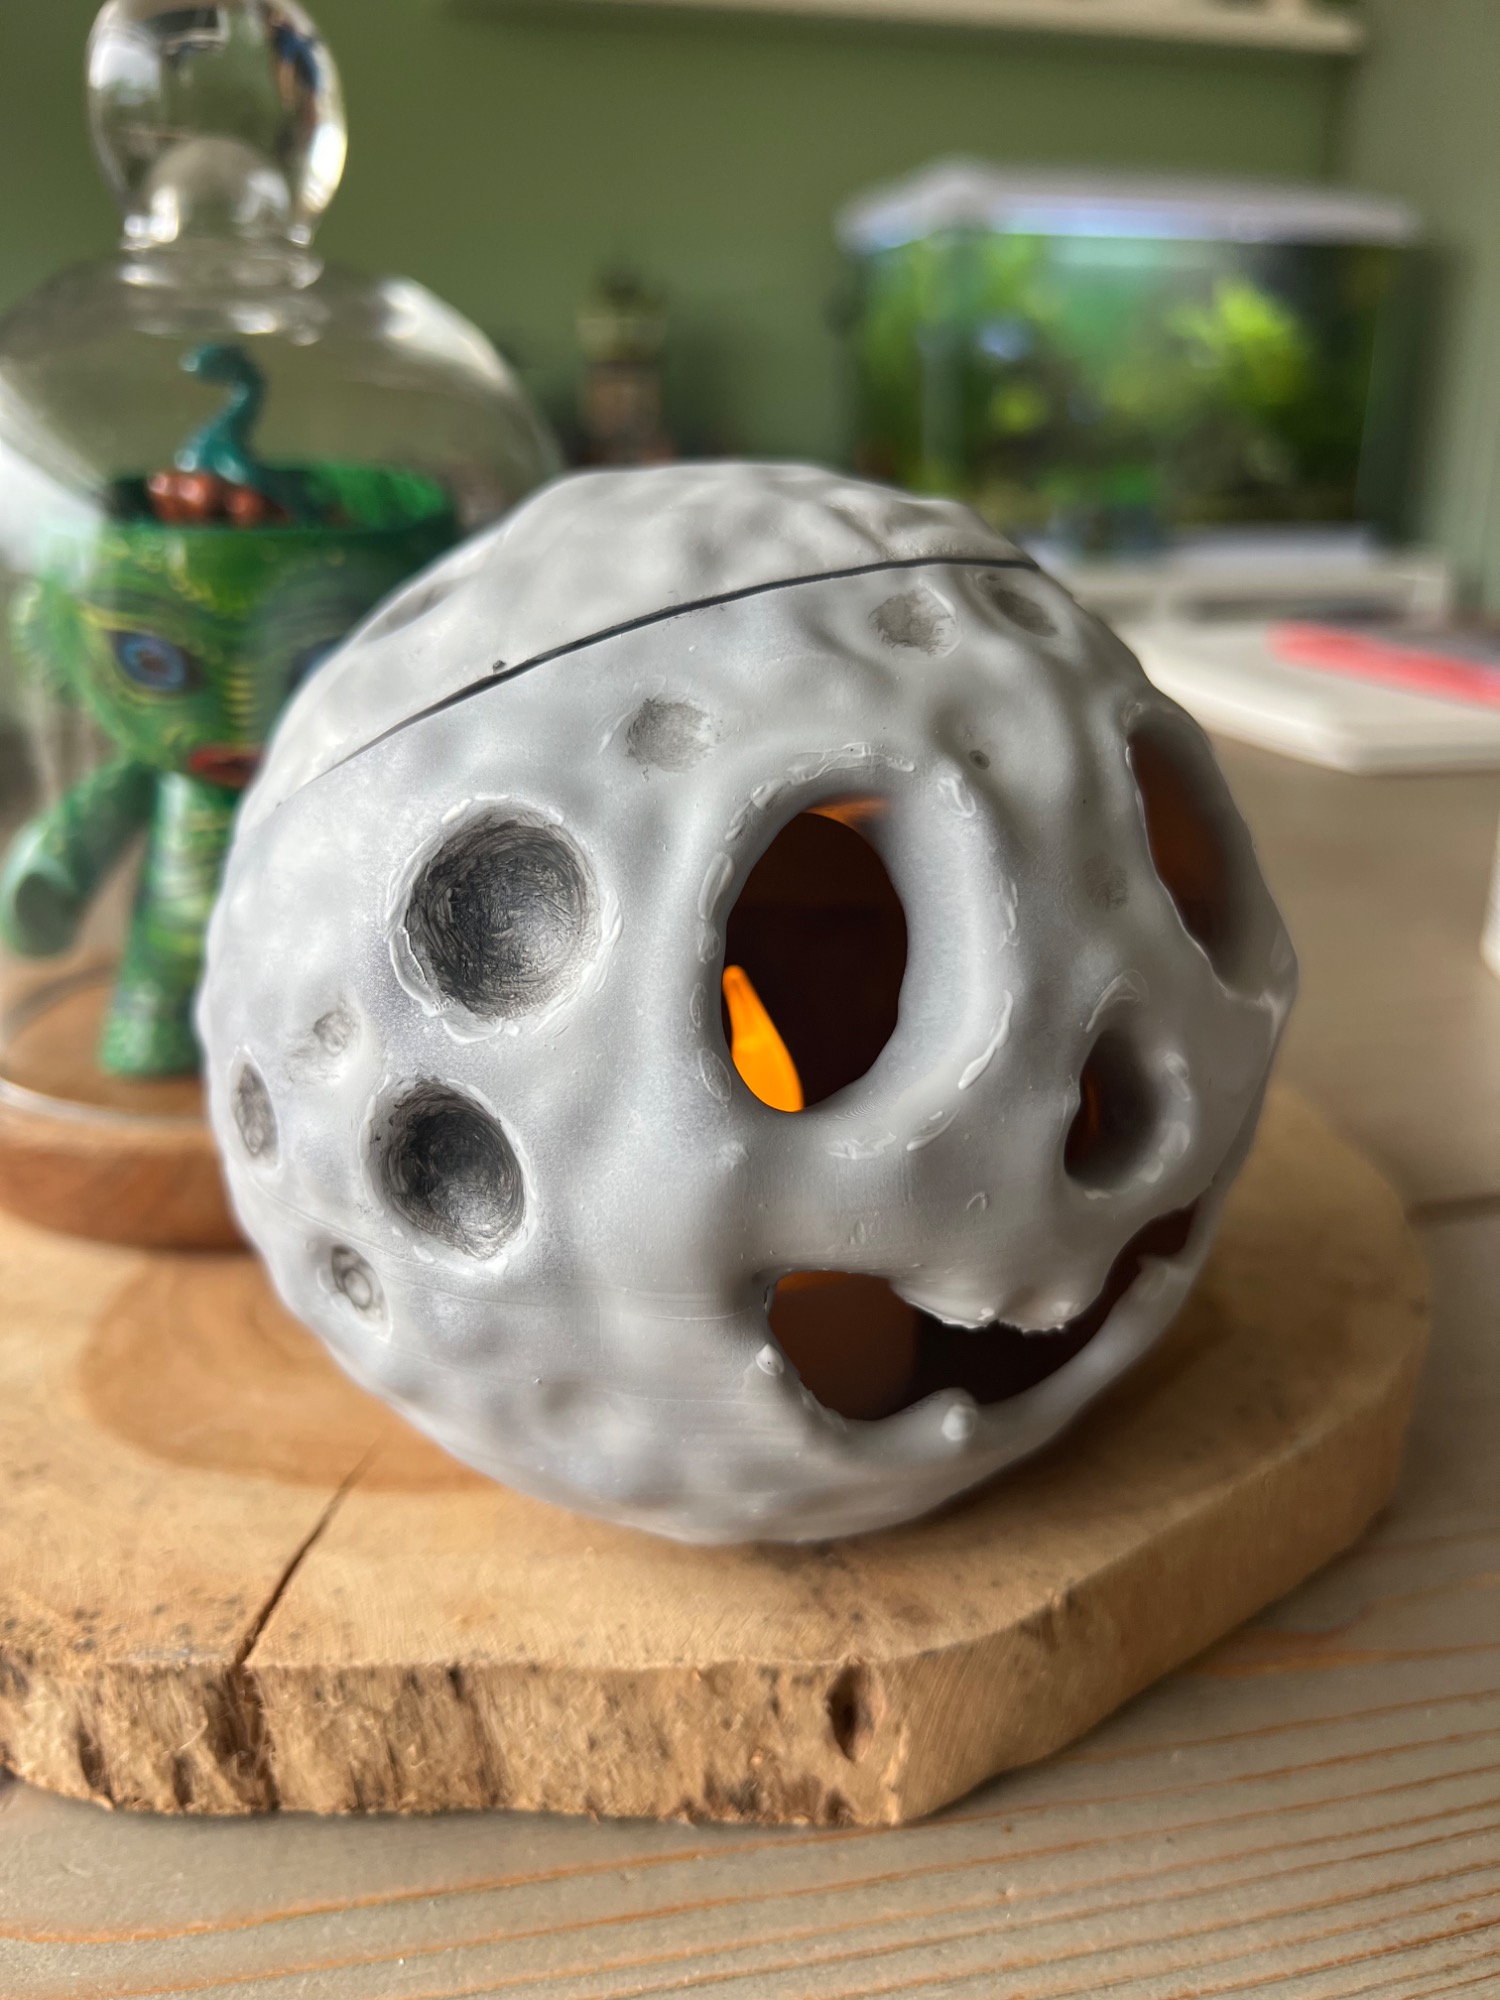
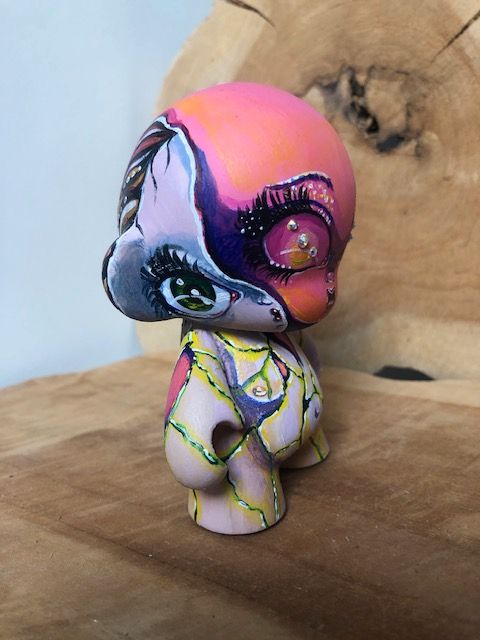
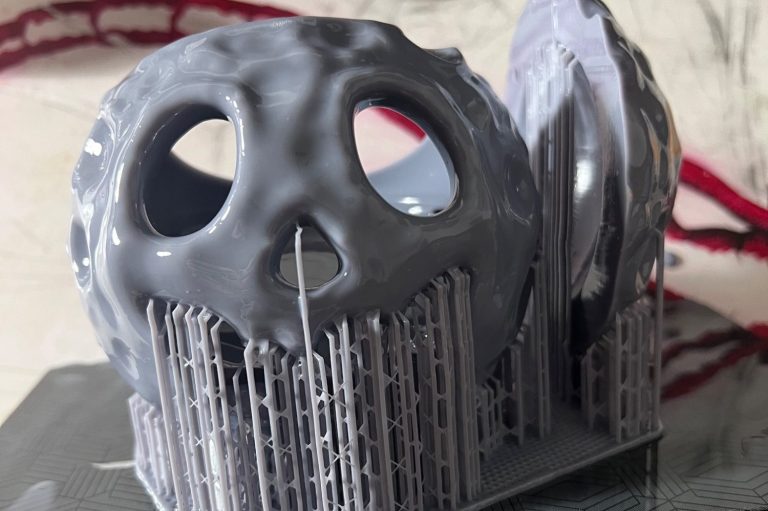
Ready to shine
Once painted, it is ready to be used. In this case, the Moon O’Lantern, which is perfect as an atmospheric light for Halloween.
With an LED light inside, it creates a beautiful atmospheric effect. Here, you can see the print mostly unpainted. If you decide to paint a print, there are additional steps, such as applying a base coat.