
Creating a watercolor illustration
Have you seen my *Holly King* illustration? It wasn’t just drawn out of nowhere—there’s a whole process that comes before the final artwork.
How did I create my *Holly King* illustration? I’ll take you through the process step by step.
Where to start…
First, I research the *Holly King*. Who is this mythical figure? How is he described in terms of appearance? What is his significance?
Here are the key words and phrases I noted down:
- Strong at Yule
- Woodsy Santa Claus like figure
- Red, sprig of holly, tangled hair
- One of two aspects of the King of the Wildwood archetype
- Horns or antlers
- Winter Solstice
- The dark wins over the light
Based on this description, an image begins to take shape—a bearded old man locked in an eternal battle with the *Oak King* for the light. I imagine the *Holly King* as a man worn by the struggle, perhaps a bit grumpy. He carries a staff with a candle snuffer, which he uses to bring darkness to the days.
I decide to create a portrait. His cloak isn’t the focal point of the drawing, so just a hint of it will suffice. With this in mind, I begin sketching.
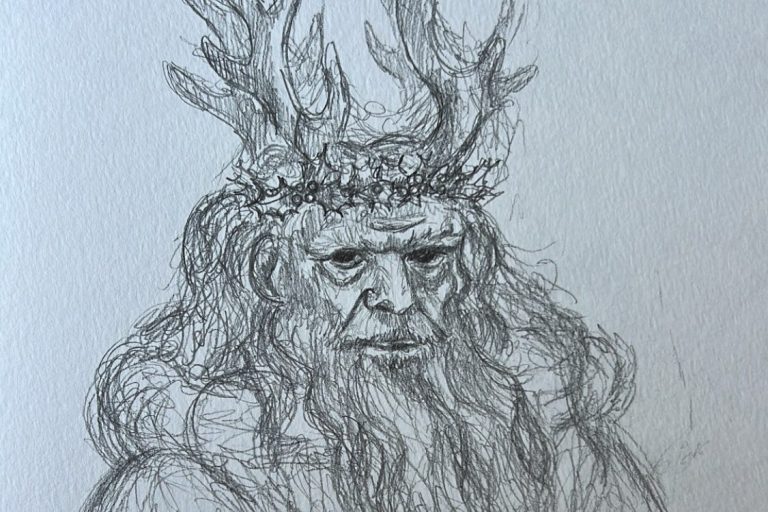
First sketch
I draw the sketch with a mechanical pencil in a mixed media sketchbook. A first impression begins to take shape.
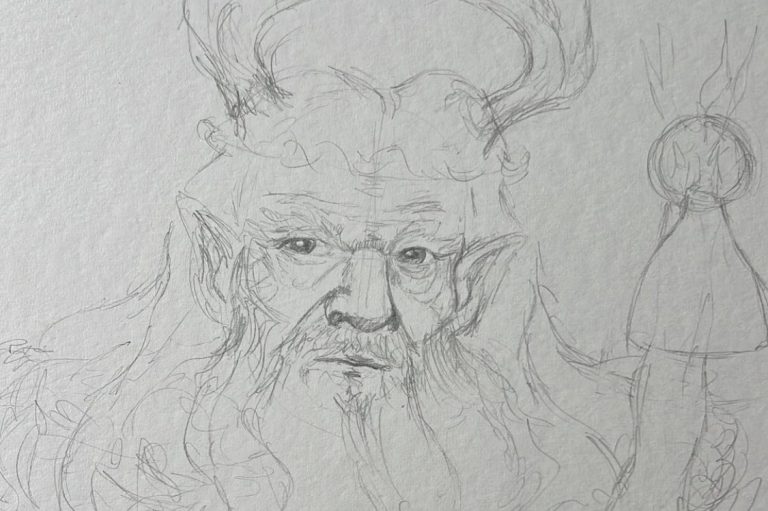
Next step - drawing the final sketch
Next, I lightly sketch the final drawing onto a watercolour block. For this, I use a *Fabriano Studio Watercolor Hot Press* sketchbook. Unlike the initial sketch, I make the eyes more pronounced.
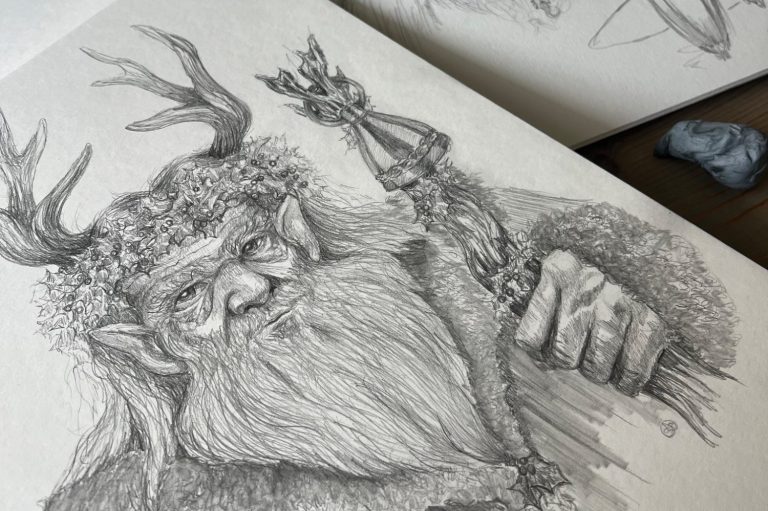
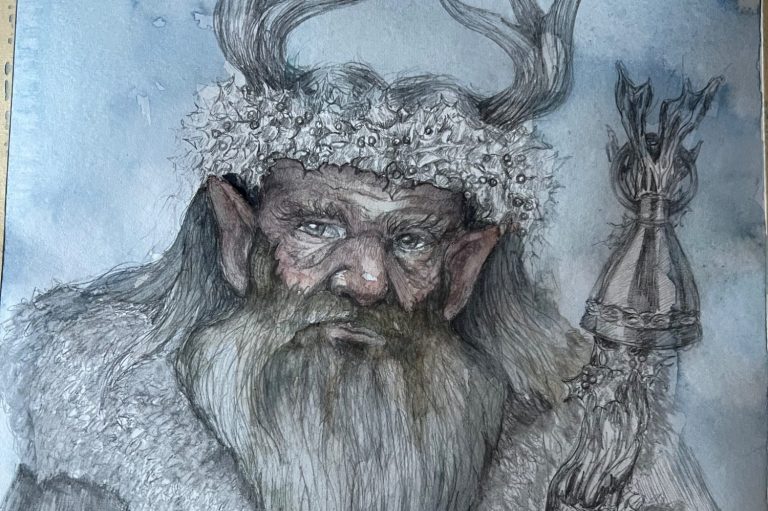
The Black and white sketch
When I’m satisfied with the rough sketch, I add shadows and texture with pencil. The principle is similar to an underpainting when working with oil paint. The figure is now in place.
I use paper tape to secure the loose edges of the drawing to the watercolour block. This helps prevent the paper from curling too much when working with watercolours.
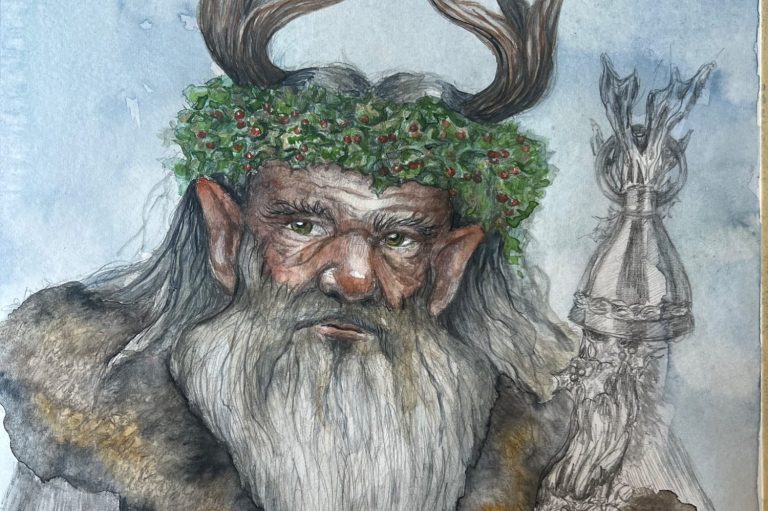
First layers of watercolor
I apply the first layers of watercolour. I start by *washing* the background, adding various shades of blue and grey to create a cold impression. The background isn’t important; my focus is purely on the portrait of the *Holly King*.
Adding layers for depth
Once the first layer is applied to the face, I gradually add more layers to introduce shadow and depth. The face begins to take shape in colour.
Adding shade means adding depth
Initially, I started with a base skin tone, which I mixed with carmine red, white, ultramarine, and yellow ochre. Darker mixing colours, with raw umber added, are used to create the shadows. For the deepest shadows, I use Payne’s grey.
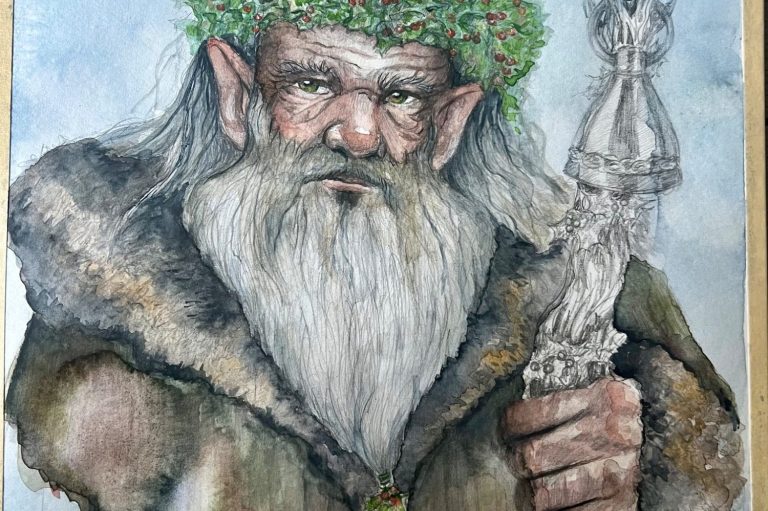
On with the coat
I want his cloak to have a weathered appearance, which I achieve by applying a wash of sap green, raw umber, carmine red, ultramarine, and Payne’s grey.
Adding blush
It’s naturally cold, which gives people a red nose and red ears. I apply this by simply thinning carmine red with water. The red creates a nice contrast with the cool colours of the background.
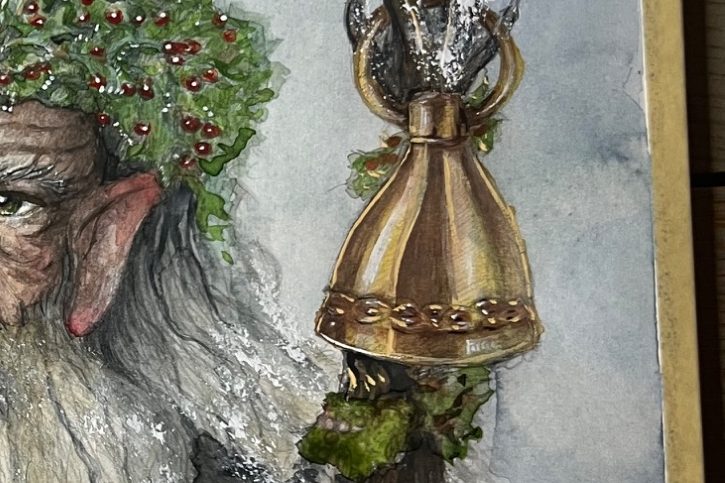
Making a candle snuffer
Once my portrait is complete, it’s time to create the staff. I use the same colours as for his wreath and cloak. For the candle holder, I use three different shades of yellow.
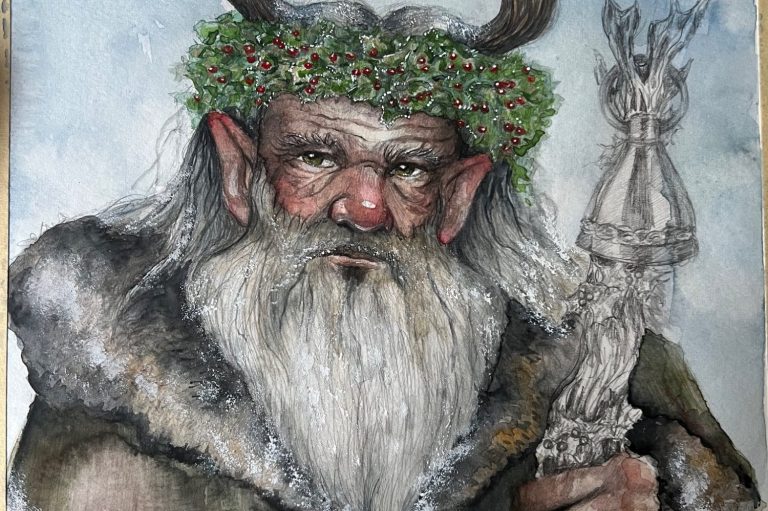
Finishing touches
When I’m finished with the watercolour, I add highlights using titanium white acrylic paint. Small highlights are added to the eyes, nose, and mouth. A touch of frost is applied along the holly leaves, and white is added to his moustache, beard, hair, staff, and cloak, evoking the appearance of snow.
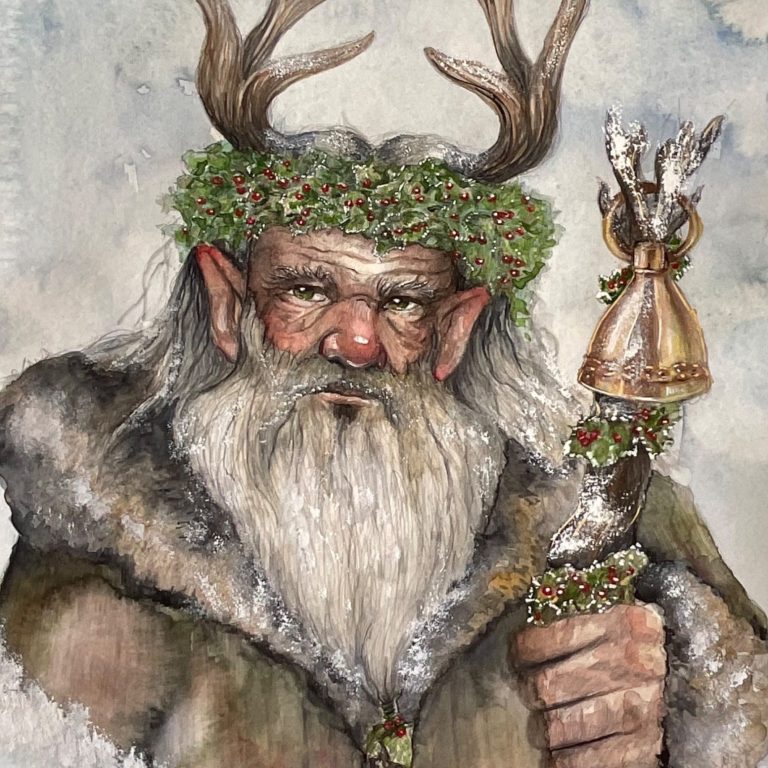
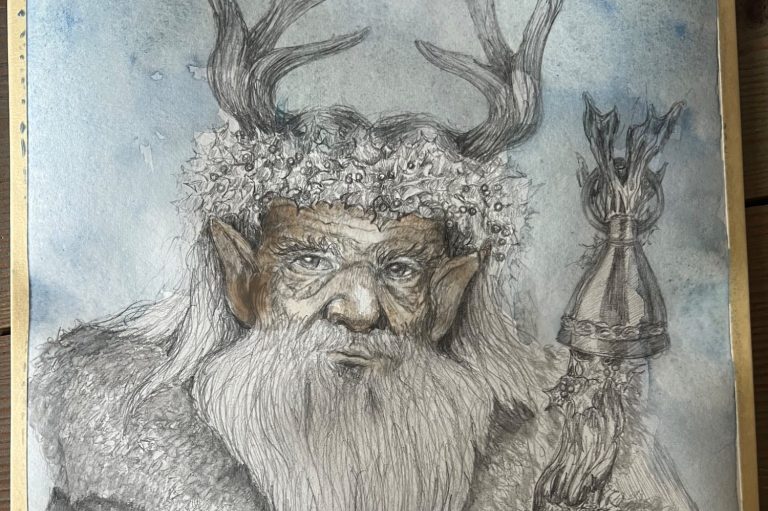
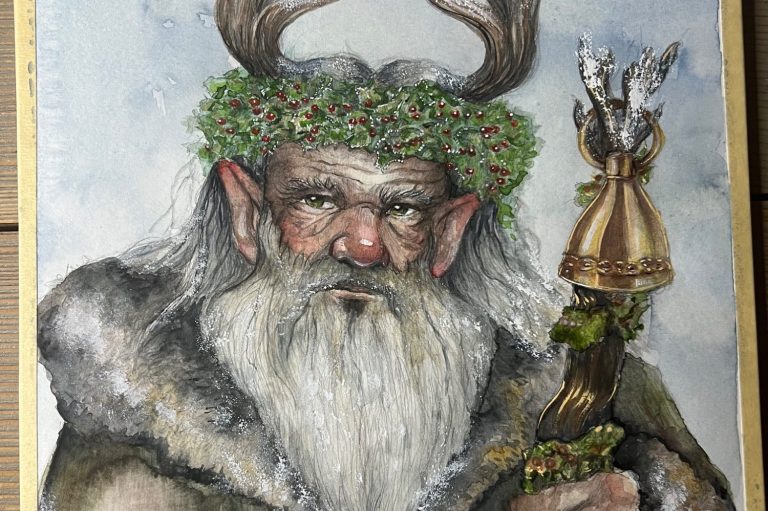
Here’s the bringer of darkness: the Holly King
And here is the final result: The Holly King; a weathered old man, weary from the eternal battle, but ready to fulfil his duty.
For this illustration, I used the following materials:
- Mixed media sketchbook
- Technical pencil
- Hot pressed watercolor pad from Fabriano
- Paper tape
- Van Gogh watercolor paint: ultramarine, Payne’s grey, sap green, white, yellow ochre, carmin red, raw umber, burnt umber, azo yellow, deep green
- Titanium white acrylic paint
- Water
- Several paint brushed wide and narrow